 I have to admit that I am a contact printer. Susan and I both contact print. There seems to be some confusion about contact printing and all I can say is, it is the easiest way you can make a print. Contact printing is nothing more than laying the negative directly on a sheet of printing paper, covering it with a piece of glass, and adding some light for the exposure. Nothing could be more simple. You do not need any special equipment to print on graded paper. A negative, some graded paper, a sheet of glass, and a lamp.
As a side note at this point, note I use the term LAMP. I have been corrected for years by an old friend that worked in the lighting industry at one time. In the industry, there is no such thing as a Light Bulb. . . it is a LAMP. So when I say LAMP, you can be assured that to the laymen I am talking about a Light Bulb. Now back to contact printing.
You can contact print on any paper, but one of the more interesting papers that is highly sought after is the old Kodak Azo. Azo is a silver chloride printing paper that was manufactured primarily for making proofs. It is extremely slow and requires such a large amount of light to yield an image it is mostly used as a contact printing paper. There seems to be some confusion about printing on Azo, and believe me, it is not that complicated. You just have to use a light source that is bright enough to yield reasonable printing times. This is where the lamp comes in.
All you need for printing on Azo is a simple, frosted lamp. For small negatives, 4×5 or smaller you can use a sheet of thick glass for printing. Larger negatives require a printing frame that holds the paper and negative under pressure. Edward Weston printed most of his most famous work using an 8×10 negative in a simple spring back printing frame, exposed under a lamp hanging by its cord from the ceiling. He adjusted the lamp intensity by changing the lamp size, or moving the lamp up and down by coiling the cord and using a clothespin.
So, now we get down to designing a printing rig for Azo. This can be as simple or complicated as you wish. I am going to describe how we print Azo and other papers. This is the setup we use, and how it is designed. I will say this again, you can use this same setup for contact printing regular enlarging paper also.
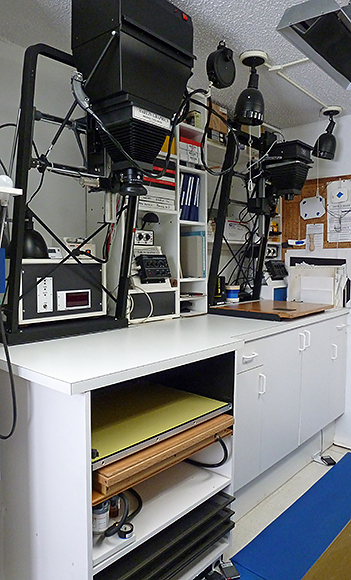
Let’s begin with the printing frame. We print large negatives, and we use a vacuum frame. The advantage of a vacuum frame is that you get absolute even pressure between the film and paper, no matter what the size of the film. We shoot 8×10, 11×14, 8×20 and 16×20 film, and have a vacuum frame large enough to accommodate the largest film. The vacuum frame is positioned under the drop table below the 8×10 enlarger. The vacuum pump is located just below the frame and includes a vacuum gauge which is handy to confirm the frame is properly closed and the vacuum is drawn down. By having the vacuum frame located below the enlarger we can also use the enlarger for printing on other papers, including VC papers that require control of blue and green light. The top of the counter is removable, as is the drop shelf which is used for enlarging. By removing the counter top and drop shelf, the vacuum frame is exposed and can be used for printing.
Printing on Azo only requires a lamp placed at some distance from the film and paper. Different negatives require different amounts of light. We set the vacuum frame to lamp reflector to a fixed distance and change the lamp wattage as required. The higher the wattage, the brighter the lamp. We keep a supply of lamps, ranging from 7 ½ watt to 200watt depending on the amount of light required. For most of our negatives we use the 45watt, 65watt, and sometimes a 100watt lamp. I like having a reflector around the lamp to help keep the light out of my eyes while printing. It also focuses the light downward onto the printing frame.
The lamp fixture is fitted with a custom machined clamping mechanism that attaches to the focusing rail of the Beseler 8×10 enlarger just below the lens, and is held in place with a thumbscrew. The enlarger head is raised or lowered to set the distance from the lamp reflector to the vacuum frame. We always adjust the lip of the reflector to vacuum glass to 30 inches. For our setup, this allows for even illumination of the vacuum frame and keeps the reflector between your eyes and the lamp. The lamp assembly is easily removed by loosening the thumb screw in case you want to change to enlarging paper and use the enlarger as a light source. This all sounds complicated, but in reality it is very simple. Refer to the photos for more detail.
The only thing that might affect your printing repeatability would be any variation of the line voltage to the lamp, which will affect the lamp output. The voltage is easily stabilized using a constant voltage transformer. You can find constant voltage units used, take a look on eBay. The one we use is a 350watt unit made by Sola-HD and will easily handle our largest lamp which is 200watts.
The constant voltage transformer is mounted in a large box that is located behind the 8×10 enlarger. I have also added a timer and a one second metronome, both made from an old digital alarm clock. Some cheap digital clocks can be modified to function as a resettable timer. I was able to rig the alarm beeper so that it chirps every second. I like to use a metronome when contact printing, and there is also a large digital readout timer that I can use as a check, just in case I lose count. The printing lamp and timer are wired to a foot switch. When you step on the switch the lamp comes on and the timer begins to count upward. The metronome runs continuously and has a switch to disable it. My wife does not like it, she only uses the timer. There is also a switch on the main box that controls the vacuum pump. As a safety precaution, the lamp will not activate until the vacuum pump is running. This way if you accidentally step on the footswitch with your box of paper open, the lamp will not light.
Printing is extremely simple. Switch off the room lights, place a sheet of printing paper, sandwiched with your negative, in the center of the vacuum frame. Close the glass top. Hit the pump switch and check to see that the frame has drawn down. When you are ready to start, step on the footswitch. The printing lamp comes on and the timer starts counting. I always step on the switch in time with the metronome. Count off the desired exposure. When complete, release the footswitch. Turn off the vacuum pump. Remove the paper and process.
Need to burn and dodge? Keep track of your exposure and use a card or cutout shape for the appropriate time. You can easily see the image since the paper is white and the negative is easily seen through the glass of the printing frame or vacuum frame.
Contact printing on Azo, or any other printing paper, is extremely easy, and is not rocket science. By adding the ability to print Azo using the 8×10 enlarger, we save space, which is always a premium in the darkroom. You can make your printing setup as simple, or complex as you desire. The main thing is to make prints. Make lots of prints. Those prints are what is important.
JB
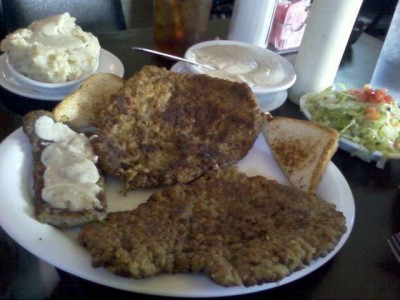 We are heading out to Strawn, Texas this Saturday (7-14) to Mary’s Cafe for the best Chicken Fried Steak in Texas. Some in the group are heading out early to scout the area and we will be meeting for lunch. Plans are to be at Mary’s for the real thing at 11:30AM this Saturday.


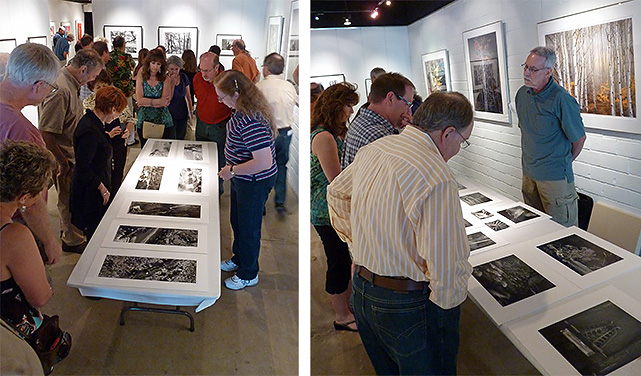
 I have to admit that I am a contact printer. Susan and I both contact print. There seems to be some confusion about contact printing and all I can say is, it is the easiest way you can make a print. Contact printing is nothing more than laying the negative directly on a sheet of printing paper, covering it with a piece of glass, and adding some light for the exposure. Nothing could be more simple. You do not need any special equipment to print on graded paper. A negative, some graded paper, a sheet of glass, and a lamp.

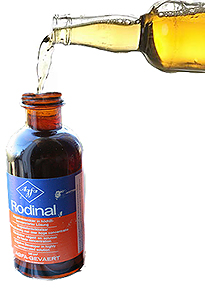 Even way back then I kept a notebook with all of my darkroom procedures laid out in a step-by-step fashion. This way I knew I would always do things exactly the same. I used the same graduates, arranged in the same order every time. Developing film is a one shot deal. Make a mistake and that is all she wrote. At this point in my progression with film and darkroom, I had become confident in my ability to develop film. The process had become the first step on the way to making prints.