Fine Art Photography

LED LIGHTING

We have finally started to transition into the 21st century.  I have been doing research into LED lighting for our darkroom and workroom for some time.  Not because I really care that much about the power use. . . I am more concerned about the useless heat generated by incandescent lighting.  In case anyone has never investigated this, your standard filament-type lamp produces more infrared heat than visible light.  We live in Texas and every bit of heat generated inside has to be pumped out with the A/C system.  Need I say, I really don’t care for hot weather, nor a hot house.

I have been intrigued by LED lighting and I have been following the technology for some time.  Up until recently LED lighting has been very expensive and not all that great as a replacement for the old reliable standard incandescent light bulb.  Cost not being factored in, there was still an issue of the color of the LED lighting and something completely new to me. . . CRI (Color Rendering Index).  When you are working with photographs, CRI becomes a very important consideration as well as color temperature.

Most everyone is familiar with color temperature.  Measured in degrees Kelvin, light is either warm or cold in appearance.  The standard incandescent lamp has a color temperature of somewhere between 2700K to maybe 3000K for some halogen lamps.  We have always used standard reflector flood lamps which inherently have a color temperature of 2700K.  LED lighting now is available with color temperatures that range from 2700K to 5000K.  This was an easy choice for us. . . what I wanted was something that matches what I have always used, so 2700K is the logical choice.

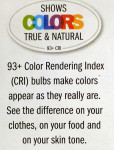
Seems that the newest specification for LED lighting is the appearance of CRI.  You will find very few lamp manufacturers that will specify the CRI.  CRI is a measure of how well a light source reveals colors.  The sun has a CRI of 100.  The very least you can expect anywhere near true color is a CRI of no less than 84 or so.  Most incandescent lamps have a CRI of about 93 to 94.  Many LED lamps have a CRI of about 80. . . not that great.

There is one more specification that is important and that is the lumens a lamp produces.  This is simply the amount of light created for the watts of electricity used.  The higher the number, the more light output.

That is a lot of information, but let it suffice to say that things have finally caught up with what I might call the Heat : Color : CRI : lumens : $$$ ratio, and it is finally time to seriously look into LED lighting.  We found a suitable replacement for the lighting in our workroom and proceeded to test the LEDs against the old incandescent lamps.  I first replaced random lamps among twelve 45W reflector lamps that light our work area.  Once on, I could not detect any difference in the light color, coverage or quality.  I looked at color under each light and saw no perceivable difference.  I had one more test. . . take a digital photo of the room and see if the camera could see any color difference.  We both looked at the photo and could not tell where the LED lamps were compared to the others.   The biggest difference we saw in the workroom was the blue of the light coming in the window from outside.  So far, so good!  Next we lived with the new light for a few days.  Did the color comparison several times.  Took more digital photos, both with the Panasonic digital cameras and with the iPhone camera.  Still, even the cameras were not showing any difference.  That was it!

Next. . . the darkroom.  We have had two fluorescent fixtures in the darkroom for as long as we have been here.  I hate those greenie-weenie light things know as fluorescent.  I have wanted to install track lighting above the sink for years, but did not want to put up with the heat.  We installed a track with four fixtures and 65W equivalent LED lamps. . . what a difference!  We also installed two, three-lamp fixtures for general room lighting.  We next repeated the tests with the cameras and there is not a detectable difference in the color of the light.  We did several visual color comparisons and there just wasn’t any discernible difference between the incandescent and the LED lamps.  That was pretty much all that I needed to see. . . fixed!

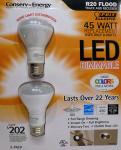
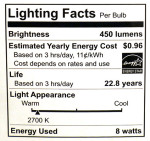
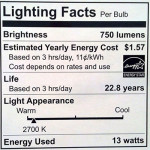
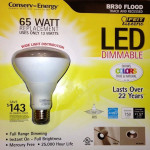
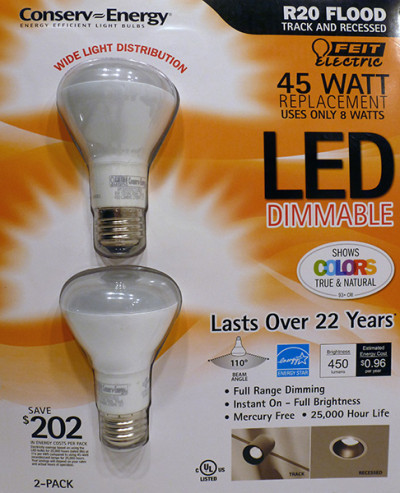
I know the question will come up as to what manufacturer and which lamps we selected.  We chose the Feit Electric R20, 45/8W, 450 lumen and BR30, 65/13W, 750 lumen LED lamps.  These are reflector lamps with a 110 degree beam angle and a CRI of 93+.

One of the most noticeable things about the LED lighting is the absence of searing heat.  The lamps themselves do get warm, but there is none of that burning IR heat that will even warm a black object on the table top.  I also need to add that these LED lamps are dimmable and do work with every dimmer we have tried them with here.

 
If you are looking to upgrade to LED lighting, these seem to be about the best at this time.  I am sure that as the technology matures, you will see even better performance and pricing.  It is like most all high-tech items today. . . you have to choose a point, then jump on the band wagon.  Tomorrow there will be a whole new ball game.  At least we have chosen to start now.  We have taken the leap into LED lighting.  We’ll see how well these hold up. . . the manufacturer claims their lamps have a 22 year life!

JB

Posted by JB Harlin in Darkroom, DIY, Photography

A DAY FOR CHOOSING

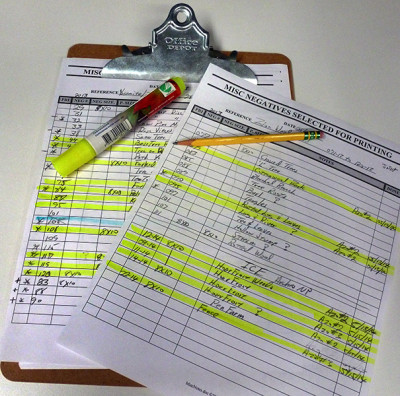
Negative Selector SheetsEvery time I head into the darkroom I learn something new. I learn another way of thinking, working, creating or just being a photographer. Everyone knows that the first thrill in photography is just being there. You are out in some visually exciting environment, suffering from optical overload. You know that the vast majority of the film you expose will never be printed, but still you shoot away. I cannot count the number of times that the one I really had hopes for really flops when printed, and the one that was just a wild guess is a keeper. That is why you shoot. . . even if you are not really confident the results will be worthy of the film. You just never know, but if you do not make the exposure, you are guaranteed to have nothing.

Once you have all of the film processed and proofed, then begins the arduous task of selecting what you want to print. This is always a tedious and mostly unforgiving chore. Making a finished print is time consuming. I would say that either of us will put in ten to twelve hours in a typical printing session.   And, generally we will produce, on a good day, four finished prints. Some days maybe less. That is why it is very important that the negative chosen needs to be well thought out, and you need to have some amount of confidence and a plan before you begin.

I don’t want to go into the darkroom and start haphazardly printing. I want to have some organization and a good idea of what I am going to be doing before I begin. Nothing is more frustrating than floundering around without a good starting point. It is bad for the head, it wastes time and materials. I would rather not print a day, spend that time getting prepared and then print the next day. I find that creativity is fleeting and if I am not in the mood, don’t even go there. Find something else to do till your mindset is correct. Negative Sheet

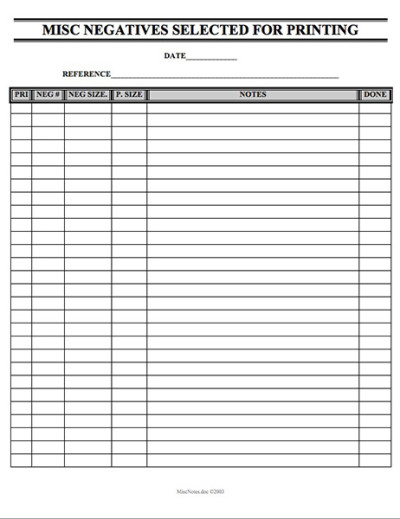
The process of negative selection begins by studying the proofs. We have worked up a sheet that we fill in with interesting photographs we would like to print. We call this sheet “MISC NEGATIVES SELECTED FOR PRINTING” and it is little more than a group of boxes to fill in with negative numbers, film size and notes. I ginned this up using a word processor years ago and we run off multiple copies and keep them on a clipboard in the darkroom.

As I said before, I keep refining my creative process. I have learned one thing that is even interesting to me. I have found that I print much better, have much greater success that is, if I concentrate on one particular type of photograph in a printing session.   For me, at least, if I am printing say wood and leaves and having a good day, it is not a good idea to switch to printing running water or snow. It just doesn’t work well for me.

So, I have begun grouping my selected negatives into those that are of like content. An example would be; on our last trip we were in Yosemite NP, Zion NP and Arches NP. I did a lot of wood details in both Yosemite and Zion, so I have grouped all of the similar subject negatives onto one sheet. This way, I will only print those negatives in one, or several consecutive printing sessions. I have quite a few snow and ice negatives from Yosemite and Arches. Those will be grouped and printed in another session.

This may sound strange, but for me at least, I find that I print better when I get into one sequence of thought and keep the subject matter similar. It just works better for me. . . maybe it would work for you also?

Finding something worth exposing a sheet of film to is one thing. . . the next step is selecting the very best of your film for the finished print. Anything you can do to help will be a great asset to your art.

JB

Posted by JB Harlin in Commentary, Darkroom, Photography

ART & CRAFT

“. . . art lifts off from craft.  Artist do things that craftsmen don’t know are possible.”  -David Vestal-

The photographic artist is a blend of craftsman and artist.  The finished print is the interpretation the photographer has chosen to display for consideration by the viewer.  This finished print is seldom a true representation of what was actually in front of the camera at the moment of exposure.  The photographer chooses, through the practice of craft, to present his, or her, interpretation of what they saw and felt at that exact moment in time.

The photographer must be a master of both art and craft.  There must be a confidence in the practice of the craft that allows him, or her, to be able to convey what is seen within their mind’s eye into the finished print.  The technology, limited by the mechanical and chemical boundaries, must be understood and used to the best advantage, or the image will fail miserably.  The craft is fused with the artistry by understanding its limitations and properties, then using them to their best advantage to create the fine art print.

Honing one’s craft allows for the seamless integration of the inherent limitations of the medium with the artistic creativity within the artist.  The craft should not be evident to the viewer.  The use of craft solely for the sake of craft is annoying and obvious. 

When the photographic artist is in the field, working with their subject, they should not be distracted by fumbling with their craft.  Having to think about technique or hardware distracts from creativity.  The photographer should know their tools to a point to where it is not a distraction.  When dealing with art and craft, neither should get in the way of the other.

Learning and mastering the craft of photography is the easy part.  Craft follows the exact rules of chemistry and physics.  The art of photography is the hard part.  There are no rules in art.  The artistic statement is simply correct when it looks right.  No amount of calculation nor measurement can be applied to art.  So the logical approach is to first learn, then hone one’s craft, then use that skill to its greatest advantage to create an artistic statement.  Simply put, in the creation of photographic art, the craft should be invisible.

JB

Posted by JB Harlin in Commentary, Photography

TCC EXPOSURE CLUB TALK “THE ART OF PHOTOGRAPHY”

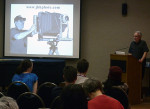
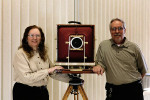
We would like to thank the Tarrant County College Exposure Club for inviting us back again this year to talk about the Art of Photography.

Great turnout. . . thanks everyone!
JB & SUSAN

Posted by JB Harlin in Events, Film, Photography

OPENING RECEPTION, JUSTUS SUNDERMANN GALLERY

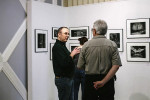
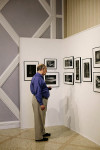
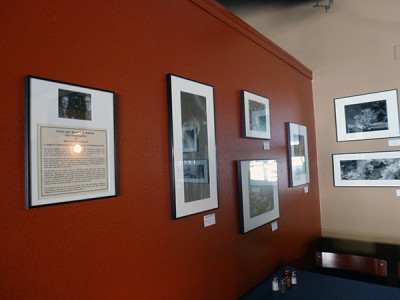
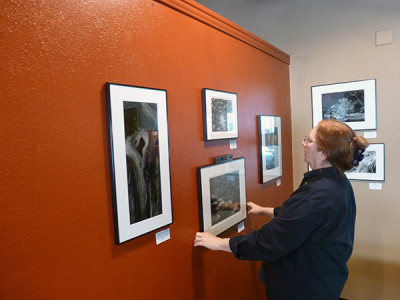
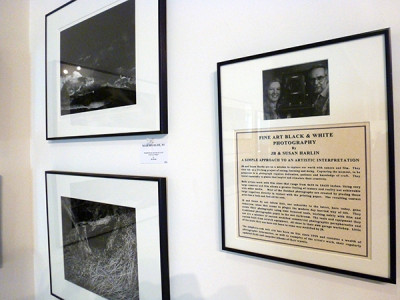
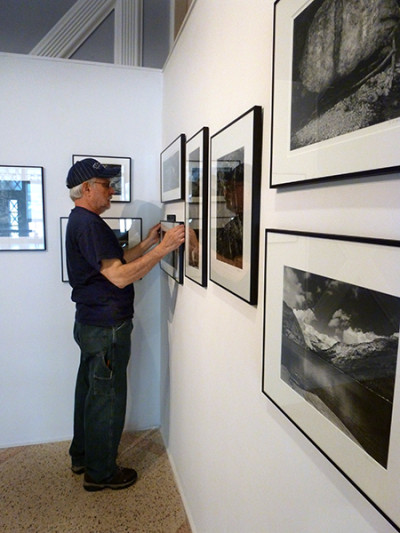
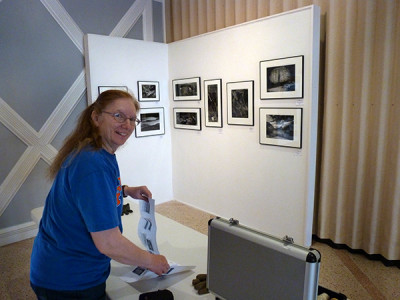
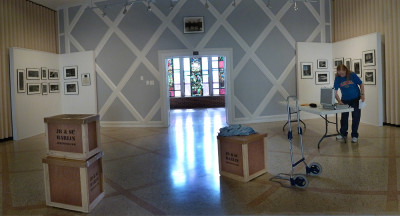
We would like to thank everyone that joined us for the opening reception of our exhibition, “TRADITIONAL BLACK & WHITE PHOTOGRAPHY BY JB & SUSAN HARLIN” March 20th.  We had a nice crowd during the evening and everyone had a great time.

We would like to thank Kelsi Williamson and the Justus Sundermann Gallery for providing the photographs of the evening.   The exhibition has been extended to run through Sunday April 20th.

Again. . . Thanks everyone for your support!

JB & Susan

Posted by JB Harlin in Events, Photography

OUR FIRST EXHIBITION OF 2014. . . JUSTUS SUNDERMANN GALLERY. . . Dallas, Texas

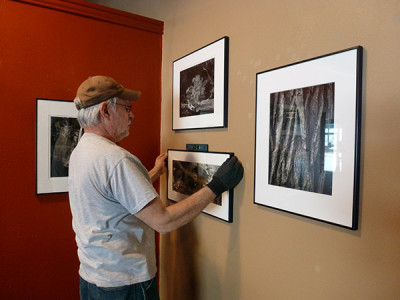
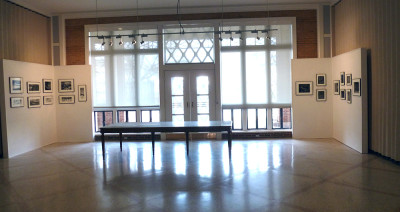
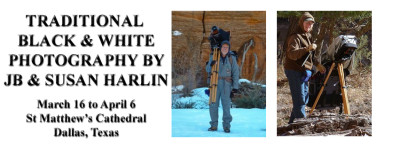
We will kick off 2014 with an exhibition of our B&W photography at St. Matthew’s Cathedral in Dallas beginning March 16th.  We will have a selection of our traditional photography on display through April 6th.  We would also like to invite everyone to attend the opening reception Thursday March 20th  6:00 to 8:00 p.m.

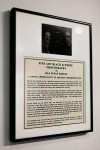
TRADITIONAL BLACK & WHITE PHOTOGRAPHY BY JB & SUSAN HARLIN

The traditional fine art photography by JB and Susan Harlin is an expression of the beauty of the world as seen through the view camera.  This husband and wife team are on a life-long mission of seeing, learning and doing.  All of their photographs are produced solely in the wet darkroom using traditional materials and processes.  The photographic art by JB and Susan Harlin is a labor of love and dedication to the beauty and craft of traditional film photography.

Justus Sundermann Gallery
St. Matthew’s Cathedral Arts
5100 Ross Ave.
Dallas, TX  75206
(214) 887-6552
www.cathedralartsdallas.org

TRADITIONAL BLACK & WHITE PHOTOGRAPHY BY JB & SUSAN HARLIN
March 16, 2014 to April 6, 2014
Opening Reception March 20th 6:00 to 8:00 p.m.


Posted by JB Harlin in Events, Photography

ARE YOU USING CLOTHESPINS?

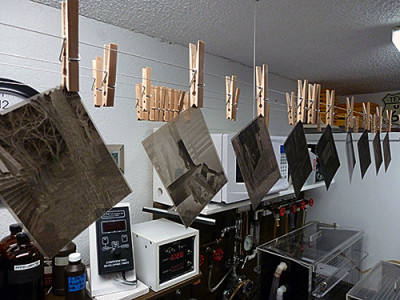
There are some things that seem to never change, or are never improved upon.  I have used the lowly, common wooden clothespin forever to hang sheet film to dry.  I have a bunch of them strung up on picture framing wire with springs at one end to keep the wire taut.  I had never given much thought to the fact that the common wooden clothespin sticks to the corner of the film and usually splinters a little wood onto the film when you remove it.  Just a fact of life and I have always lived with it.  I try to clip the very edge of the film and it has never been much of a problem. . . it is more of an annoyance.

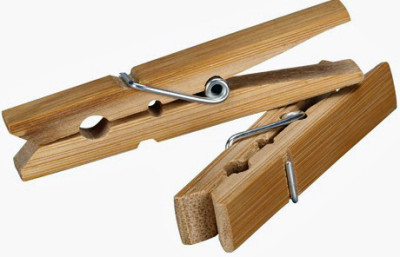
There are times that things just happen unexpectedly.  I was walking through a store several years ago and saw something I had not seen before. . . bamboo clothespins!  Didn’t think much of it, but I did examine them closely and noticed the bamboo looked like a good material for a clothespin since it was not as porous as the wood I was used to seeing.  I ended up purchasing a package and replaced one of my film lines with them.

I was amazed at how well they worked.  They held the wet film just like what I had been using. . . they did stick, but not as bad. . . and. . . they did not splinter.  I immediately replaced all of the clothespins on my drying line and have been well pleased with the result.

You never know what you will discover if you take the time to look around.  If you are one that uses the old wooden clothespin to hang your film, you might want to look into getting some bamboo.  They work great for me!

JB

Posted by JB Harlin in Darkroom, Film, How-To, Photography

SUSAN AND HER VERTICAL 4X10, ZION NP, DECEMBER 20, 2012

Here is another video of our travels.   In this short video you will see Susan with her 4×10 vertical camera making the photograph “WATERFALLS, ZION” December 20, 2012.

JB

Posted by JB Harlin in Darkroom, Film, Photography, Travel