Film Photography
We shoot film. . . doesn’t everyone?
BELLOWS RIBS. . . RAILROAD BOARD???
 I have had a lot of really positive feedback on my recent text titled Bellows Building. I would like to thank everyone for the kind comments. There have been several inquiries for more information regarding Railroad Board, exactly what it is and where to purchase.
Railroad Board is the best material for bellows ribs. It is a smooth, thin, Bristol-type board, colored on both sides, that is used for signs, posters, mailing cards, tickets, tags, and so forth. Thicknesses are 4 ply (about .017″ or .43 mm) and 6 ply (about .022″ or .56 mm) and is available in 22″ × 28″ sheets. I recommend 4 ply for small bellows smaller than 8×10 and 6 ply for larger bellows.
You can purchase Railroad Board by the sheet or in bulk packages from Dick Blick. I would recommend black material and here are the stock numbers and the direct link to their on line CATALOG ;
13105-2002 Black 22″ × 28″ 4 Ply
13105-2102 Black 22″ × 28″ 6 Ply
Hope this answers any questions and good luck with that camera rework and bellows building project.
JB
Thanks To The Lake Granbury Art Association
 We would like to thank everyone that attended our presentation “THE ART OF B&W PHOTOGRAPHY” at the Lake Granbury Art Association meeting Monday evening. We had a full house and we hope everyone enjoyed themselves as much as we did. Special thanks to Bill Martin and Ron Hood for inviting us and making the arrangements.
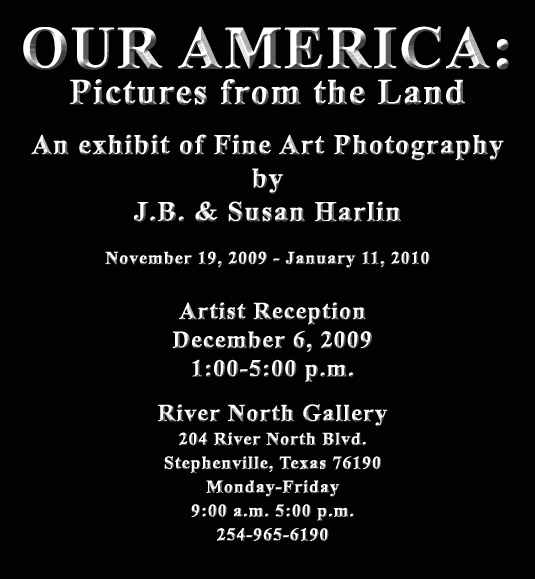
A quick note, we will be having an exhibition of 25-30 photographs beginning November 18th and running through January 8th at the River North Gallery in Stephenville, Texas. Watch here for more information as we finalize the arrangements. As always, thanks to everyone for your support.
JB & Susan
THE ART OF B&W PHOTOGRAPHY
JB will be giving a talk titled “THE ART OF B&W PHOTOGRAPHY” at the Lake Granbury Art Association Monday, October 12th, at 7:00pm. JB, assisted by Susan, will present a slide show outlining their travels and how they use Large and Ultra Large Format Cameras to create Fine Art Photographs.
We would like to invite everyone to join us. More information can be found on the Lake Granbury Art Association web site. Hope to see you there!
JB & Susan
f8 & Be There
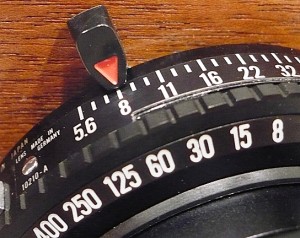 A friend e-mailed me the other day saying there was an interesting discussion about the quote “f8 & Be There” supposedly credited to Weegee, a.k.a. Arthur Fellig (June 12, 1899 – December 26, 1968) going around on the Internet. I have my interpretation of this quote, and it requires little thought on my part to understand what it means to me. But I guess in this modern day computerized world of digital everything, so called “photographers” have lost a connection to the basic craft of dedication, exposure and artistic vision?
The world we live in today is far too complicated. Made so by all of the choices and distractions we face every waking hour. One of the first real realizations of maturity is to realize you can never Have It All! You will never live long enough! You have to make choices as to what is important. You have to pick and choose what you really want and then stick to it. You cannot be an astronaut, a brain surgeon, a rock star, a movie star, and on, and on. . . Trying to Have It All, will only lead you to ruin. Having it all is an advertiser’s myth, created to sell you soap, cars, windows, insulation, ocean cruises, and imagined happiness.
So, what does “f8 & Be There” mean to me? Pretty simple. . . for me it is a term pertaining to photography and simply means if you want to be a photographer you have to make the decision a conscious choice.
* Turn off the computer
* Turn off the TV
* Turn off the cell phone
* Turn off texting
* Turn off the obsessions. . . sports, soap operas, talk shows, music videos, lame network prime time shows. . .
* Remove all distractions. . .
* Flush all of the clutter from your life
What “f8 & Be There” means to me is, if you really want to be a photographer, you have to dedicate yourself to photography. Forsaking all other interests to get out there and be a photographer with all you have to give to the medium. “f8 & Be There” means dedication and focus on one, and only one passion, your photography. You have to really want to, not just kind of want to. That choice is yours, but remember whatever you choose, you can never Have It All.
If you really want a glimpse of what dedication to your passion entails, read “The Daybooks” by Edward Weston. Passion to the point of starvation was the dedication this man gave to his art.
JB
MAKING A LENS BOARD
 If you own a wooden camera, be it a modern model or an old one, you will eventually need a lens board. The first thing most people do is try to find a suitable lens board from a dealer, off the internet or have one custom manufactured. But, did you know it is not that difficult to make your own. And, if you make it yourself you know it will fit!
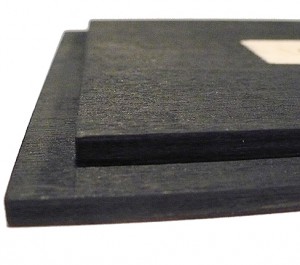
Most modern wooden lens boards are made of solid hardwood and require three to four pieces of material to construct. Believe me nothing is more frustrating than to go through the process of fitting machining hardwood pieces to have them warp or crack. Also, nothing looks worse than a piece of birch plywood painted black.
So, what to do? I say make your own using plywood. Correct. . . Plywood. It will not warp or crack and is easily obtainable. All you have to do to make it look decent is to veneer the outside with the same wood as your camera and finish it. You will not be able to tell the difference from the 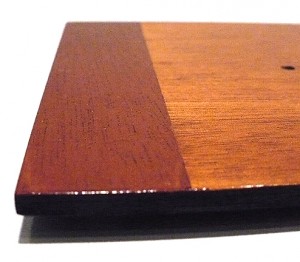 solid wood boards.
Take a trip to your local woodworking store, or search on line, for some high-laminate birch plywood in the nearest thickness to the lens board that your camera uses. Hobby shops also sell suitable high-grade plywood. You will also need a few pieces of veneer of the correct type. I cross laminate the veneer and it looks just like the multi-piece hardwood boards. Look on the Internet for tips on wood laminating, it is not that hard to do. Carefully measure an original lens board and using a saw and router duplicate the profile and sand to fit your camera.
The hardest part is drilling the hole for the shutter. Here you will need a Forstner bit that is the closest to the size of the shutter you intend to mount. Remember that most shutters are metric, so choose a drill that is just under the desired size. You can then us a round file and sand paper to adjust the fit.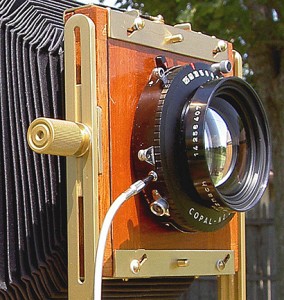
Once you are satisfied that everything fits, it is time to finish the board. I black the back of my boards along with the light trap offset and edges. I use black India ink which penetrates the wood and dries to a flat, non-reflective finish. Only the veneer front requires a fine finish. I use varnish, you can use spray acrylic if you like. You may have to apply stain to match your camera, experiment on a scrap of veneer first.
It is really easy to make your own high-quality lens boards. The last time I did this I made about six blanks and I still have extra undrilled boards on hand.
JB
SUSAN IS ONE OF SEVEN WINNERS
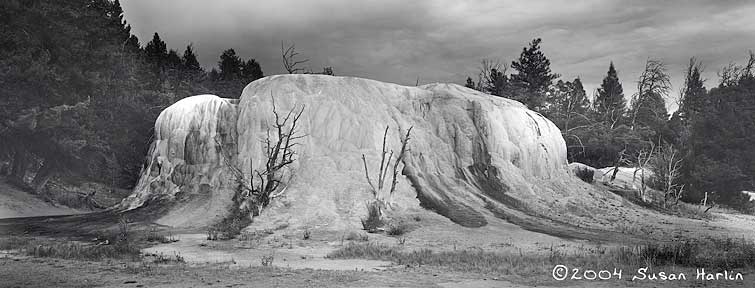
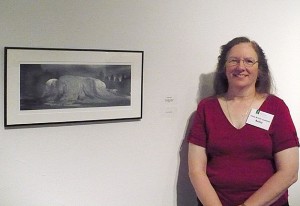 Susan’s photo ‘Orange Spring Mound’ took one of seven awards in the 2009 TAC Juried Membership Show last evening. She received recognition as a selected example of excellent and admirable art and a $100.00 gift certificate.
We had a really great time talking with new and old friends and a good time seemed to be had by all. The exhibition will be up through August 30, 2009. . . thanks everyone!!!
2009 TAC Juried Membership Show
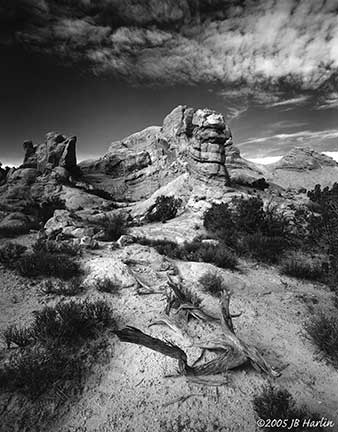
Susan and I have each had a photograph selected to be included in the upcoming Fort Worth Community Arts Center 2009 TAC Juried Membership Show. We have received notification that Susan’s “Orange Spring Mound” and JB’s “Canyonlands” were chosen as finalists in this annual competi
Awards will be presented at the Artists Reception August 7, 2009, 6-9pm. The exhibition will run August 7, 2009 through August 30, 2009 at the Fort Worth Community Arts Center, 1300 Gendy Street, Fort Worth, Texas 76107.
We would like to invite everyone to join us for the reception and awards presentation.
JB & Susan
Susan Has New Photos
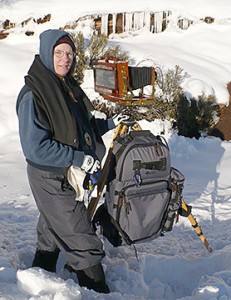 Susan has been faithfully printing new negatives for the last three months. She has several new photos from our last trip to Southern Utah now added to her web gallery.
There are also new images from older negatives, both 4×10 and 8×20 that did not work out well on some of the paper we had on hand at the time. Using some vintage Kodak Azo paper and a modified developer formula, she was able to make some brilliant prints from these older photographs from earlier trips. To view Susan’s photo gallery click HERE.
Thanks for looking,
JB & Susan
Dry Mounting Photographs
To dry mount or not. . . that is a question? This debate seems to roll on forever. Sort of like Ford or Chevy? Is there really a correct answer? I have made my choice.
For me there is nothing that comes close to a properly dry mounted photograph. Once I made my choice, all I had to do was learn the process. I worked out a method that gives me what I like, and if you are interested in dry mounting your photos and have never learned the process, I have a little booklet that details my procedure.
This is not the only way, it is just my way. . . and. . . if you are interested, it is FREE!!! Take a look HERE for “DRY MOUNTING PHOTOGRAPHS” pdf download.

