27
Jan
2013
 I keep harping on the same old line, but it is true that everyone has their own way of doing things and I am no different. But it seems that I continue to get questions about how we work. There seems to be a misconception that when you contact print that Burning and Dodging (B&D) are not possible. That is 100% malarkey! Whether you use a spring back or vacuum frame, the image on the negative is visible against the white printing paper. Burning and dodging is exactly the same as enlarging.
Now having dispelled the myth about contact printing, and understanding things work the same, I find there are two B&D tools I use all the time. Yes, there are times you will have to cut strange shapes to make a particular B&D tool for a certain image. No matter what special shapes I may need, I find two shapes that are universally used most of the time.
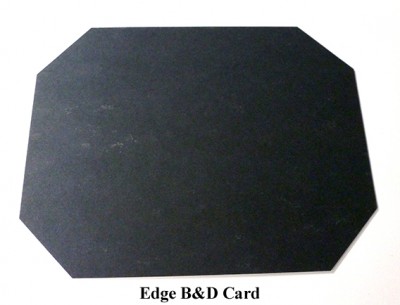
By far my most used B&D shape is a rectangular piece of mat board. I use this for edges, sides and most any other large areas. The second most used B&D shape is a specially modified rectangle for edge burning. I seem to forever need to burn all four edges of most prints and why burn each edge one at a time? I cut a piece of mat board smaller in both dimensions than the print I am making. Then I cut off all four corners at a 45 degree angle. This is my Edge B&D tool and it sees a lot of use. I can burn all four sides of a print in one exposure. The farther you hold the tool from the print, the larger the area that is held back. Moving the Edge B&D card either in a slow circular motion, or moving slowly up and down, yields a nice even edge burning all the way around the print.
I mostly print 8×10 and 11×14 negatives, and I mostly contact print, so I have two Edge B&D cards for those size prints. I use a custom handle to hold dodging shapes fashioned after Fred Picker’s Lawton Dodger. Most of the time, I have my Edge B&D card taped to my dodger.
This is something to think about and may work as well for you as it has for me. And, this is not just for contact printing. It works equally well for enlarging. Try making your own Edge B&D card, you may like using it!
JB