SHOWING YOUR FINISHED PHOTOGRAPHS
We work very hard out in the field exposing film to interesting and inspiring subjects that we believe we can turn into an acceptable finished photograph. Next we hold our breath as we get a first look at the negative. . . same thing when we get a peek at the proof and later the first work print. This continues through all of the refinements until we finally end up with a finished photograph. Next we live with this image. . . and when we are finally satisfied with what we have created, it is time to show the print.
We love to show our finished photographs. . . to anyone that is willing to look. The thing is, in order to really view a fine photograph, you have to light it correctly. Looking at prints in a dark room, gathered around a table in a restaurant, or anywhere there is insufficient light, is not what should be done. The problem is there is no easy way to properly light a photograph without hauling your own light. This has been one of those things I have pondered for years. The best I have ever done is to use an easel and a spotlight on a stand to illuminate sufficiently the photographs to be shown. Even Edward Weston would get out his light when he showed his prints. This is the correct way to show your photography.
The proper lighting of finished fine prints has been something I have agonized over for years. As usual, when I am faced with trying to design something from scratch, I take a nap. I do my best thinking when I am asleep. This one took more than a nap. I pondered this for quite a while, off and on for months. Then one night I had a dream. . . there it was!
Bringing an idea to reality is not always an easy task. Fortunately, I have been doing this for years and I have found that if I can imagine it, I can eventually build it. The interesting thing about this project was I had most everything I needed laying around. It was just a matter of putting it all together and making it work.
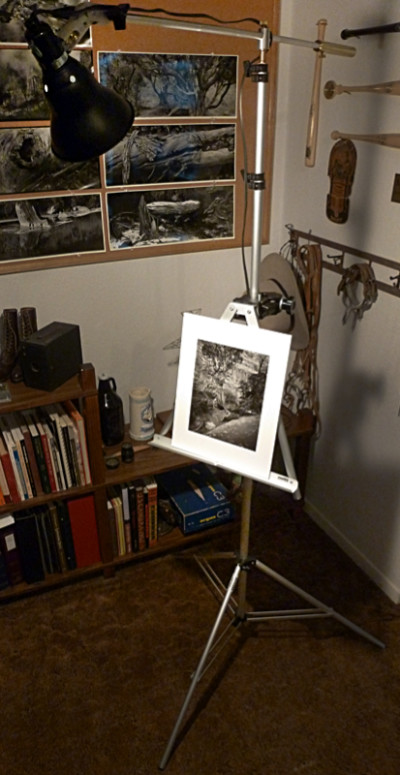
So, what am I talking about? What I wanted was a simple, easy to transport, easy to assemble display easel with integrated light. A single unit so I do not have to carry a wooden easel and a light with a separate stand.
As I said, we had most everything needed laying around the house. We have several of these really nice aluminum tabletop easels. There are several light stands in the closet, along with light fixtures and even a Manfrotto SuperClamp. These items made up most of what I needed.
The bulk of the project required that I make a boom to hold the light fixture and come up with a way to mount the easel to the SuperClamp. I machined a block of aluminum to hold the easel at a convenient angle and attach it to the SuperClamp. I spun out a simple boom with a counterweight that attaches to the top of the light stand and is fully adjustable. The SuperClamp, with mounted easel, is easily attached to the stand at any convenient height. All that is needed is electricity for the lamp. Presto. . . a complete, self-contained, lighted display easel.

The last piece of the puzzle was coming up with some convenient way to store and transport the lighted easel and its assorted parts. There wasn’t much we could find off-the-shelf, so it was off to the garage to build a wooden carrying case. Fortunately, there was enough scrap plywood on hand and it was just a matter of building the case and fitting the parts inside. A little sanding, a few quick coats of varnish, some felt padding, hinge, handle, latches and the whole thing is ready for the road.
Now all we need is a captive audience!
JB
OVER 25 YEARS OF MPD & STILL GOING
 Seems everyone has their favorite method for exposing and developing film. You do shoot film, don’t you? If not, you should! But I digress for sure. . . There are as many ways of working with film as there are opinions. . . maybe more. None are better or worse than any other, if they work; if they give you the results you insist on within your own vision, then you are already there. But, in this day and age there are a lot of people coming into photography and just now discovering film and the traditional darkroom. In the beginning film is a mystery and requires some time to begin to master. Of course, the most important thing is that you shoot film and make finished photographs. How you get there is a very personal thing and you need to choose what works best for you. But, you have to start somewhere.
For me, I prefer simplicity when I am out making photographs. I do not want to get bogged down with a lot of complexity. I struggled with film exposure and development, like I would speculate that most everyone has when they first start out trying to understand film photography. It was way back in the mid 1970’s when I realized I could process and print my own photographs. This was a big deal for me. It started a lifetime involvement with photography and the wet darkroom.
I stumbled around, trying this and that looking for that magic technique that would give me a negative that would print what I saw in my mind’s eye in the finished print. I read everything I could find on the subject. I even toyed with the idea of becoming a strict Zone System practitioner. Thing was, everything I looked into was just way too complicated. There had to be a simpler way. . . at least, that is what I thought.
Somewhere in the 1980’s I discovered Fred Picker and his “Zone VI Workshop” book. This was exactly what I was looking for. It made sense and contained a simple approach that I found worked! Having found someone that was also into simplicity, I subscribed to the Zone VI Newsletter. I remember really getting excited when I discovered the latest issue in the mailbox. Plenty of opinion and advice that really made sense. To this day I still have my complete set of these newsletters. About 25 years ago when I seriously decided to start working with large format photography, I read the entire set again. . . three times. . . every issue, #1 through #83.
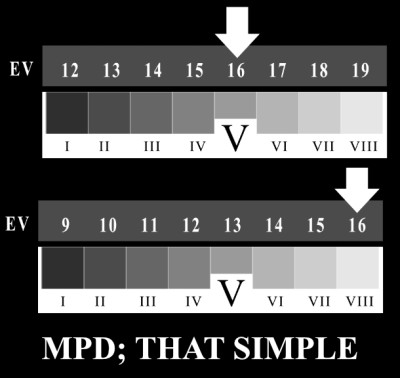
I had experimented previously with what Fred called MPD (Maximum Printable Density) back in my early days in photography. I had very good results, but I drifted away from the darkroom for a while to concentrate on a career. When I moved back into photography after a brief hiatus, I dove right into large format. I needed to relearn my darkroom skills, at least to the point where I had left off and establish a sound working technique.
MPD is such a simple approach to exposing film that most think it will not work. It is deceptively simple for sure! I did some experimenting to get back into the groove and continue my experiments with simplicity. I found that MPD was just what it claims to be. . . SIMPLE. . . and well-suited for any film format! I am a big fan of ‘simple’ for sure. As with anything, it is ludicrous to use something that does not work. Why make it worse on yourself. I approached MPD with the idea, that as long as it works, I will use it.
It is funny how there are things that just seem to fit you and continue to do so. It has been over 25 years now and I still use MPD. Why? Because it works! My wife uses it and she is sold on the idea of simplicity also. If you have seen any of our original prints from LF negatives, you have seen film exposed using MPD.
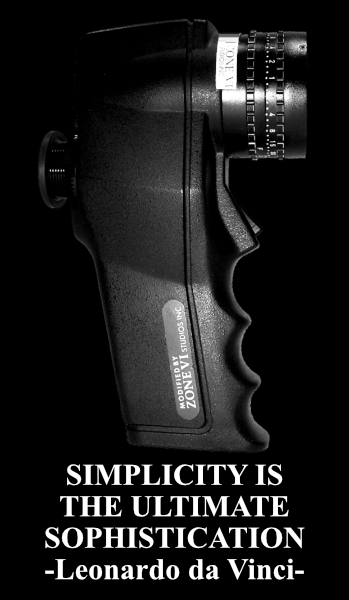
Oh, guess I forgot to mention exactly how simple MPD is in practical use. Here goes, don’t blink; 1. Find your subject, compose as you wish. Not much new there. But, here it comes. 2. Meter the area you wish to render as a Zone VIII. White painted wall, snow, sand. . . whatever you wish to print as finely textured white (Zone VIII). Meter that area. 3. Open up three stops, or place the reading on Zone VIII if your meter has a Zone Dial. 4. Set your exposure and expose the film.
It is actually even easier than that;
1. Meter
2. Place VIII
3. Expose. . . DONE!
Now, don’t believe this is a haphazard way of working. First, you must do your film testing. You need to establish your working EI (Exposure Index) and your normal (N) developing time. You need to establish a proper proofing regiment. Your proper proofs are your control. They tell you just how you are doing with film exposure and developing. Study your proper proofs and make fine adjustments on the fly. Thing is, once you find a starting point, things get much easier. You do not have to engage in never-ending testing. Test once. . . find that starting point. As Fred Picker said, “Get one foot on a rock.” Then you use your proper proofs for fine tuning and a constant check on how you are doing. Simple!
Are you interested in making really good negatives? Want to understand proper proofing, personal film speed and developing times? How about getting started using MPD? Interested in getting the technical stuff behind you?
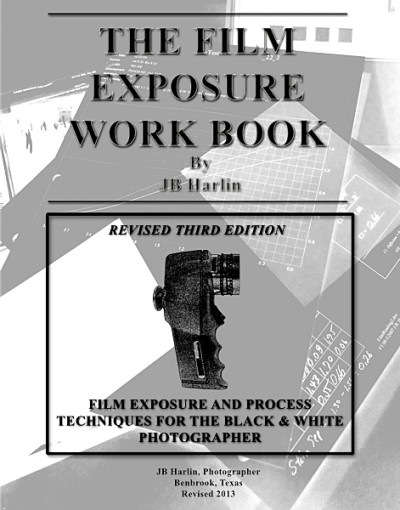
I was asked how to use MPD and what testing was necessary years ago. I wrote “THE FILM EXPOSURE WORK BOOK” specifically for those interested in learning where to start. This 44 page book is now available for download in e-book format from our online store. You will learn how to establish your working EI. Determine your N and N+1 1/2 developing times. Proper Proofing is covered and much more. You will also get a printable 12 page Work Sheet to record your testing results.
Is MPD right for you? If you are just starting out with film, it just might be if you are interested in a simple, reliable method for making the best possible negatives. Fred Picker had a large rubber stamp that said TRY IT. He used it to answer letters people wrote to him asking questions. You will only know if you TRY IT. It has worked well here for over 25 years!
JB
ILFORD PHOTO ULF FILM 2015
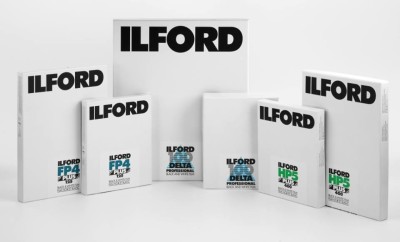 It is that time of year again. Time to get in your order for custom size Ilford Film. The ILFORD PHOTO annual ULF sheet film ordering window for 2015 opens Wednesday 8th April 2015. This annual campaign allows ULF photographers the opportunity to order selected sizes of ILFORD sheet film and other specialist products without the constraints of the usual minimum order quantity.
Photographers have until Friday 12th June 2015 to place their orders with participating Dealers. The UK factory will start to ship orders to Distributors during August and end users should check with the local ULF reseller for expected arrival dates.
For a full list of the items available in this campaign, and for a list of participating Dealers, Click on
ULF 2015 Items and Dealer List
JB & Susan
D/FW CAMERA SHOW! SATURDAY APRIL 18, 2015
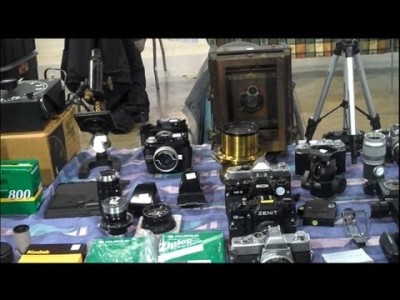 It has certainly been a long time since we have seen a camera show here in the D/FW area. That is the bad news. . . the good news. . . THE CAMERA SHOW RETURNS! The Dallas Center for Photography and Don’s Camera are joining forces to give you a chance to buy, sell or swap photo gear of all kinds!
Location: Dallas Center for Photography, 4756 Algiers, Dallas, TX 75207. Doors open at 10am and close at 4pm. Ticket price is only $3 online until April 17, $5 cash at the door.
For more information on the show and vendor tables, click below.
Hope to see you there!
JB & Susan
THE NEW jbhphoto.com WEB SITE IS UP
It has been a very busy start to 2015 for us here at Harlin Photography World Headquarters. We returned from our annual trip out West the first week of January and have not had time to look up since. We had a lot of film to process and thankfully, that is about done now. Susan is already printing new film and JB is almost done proofing and filing.
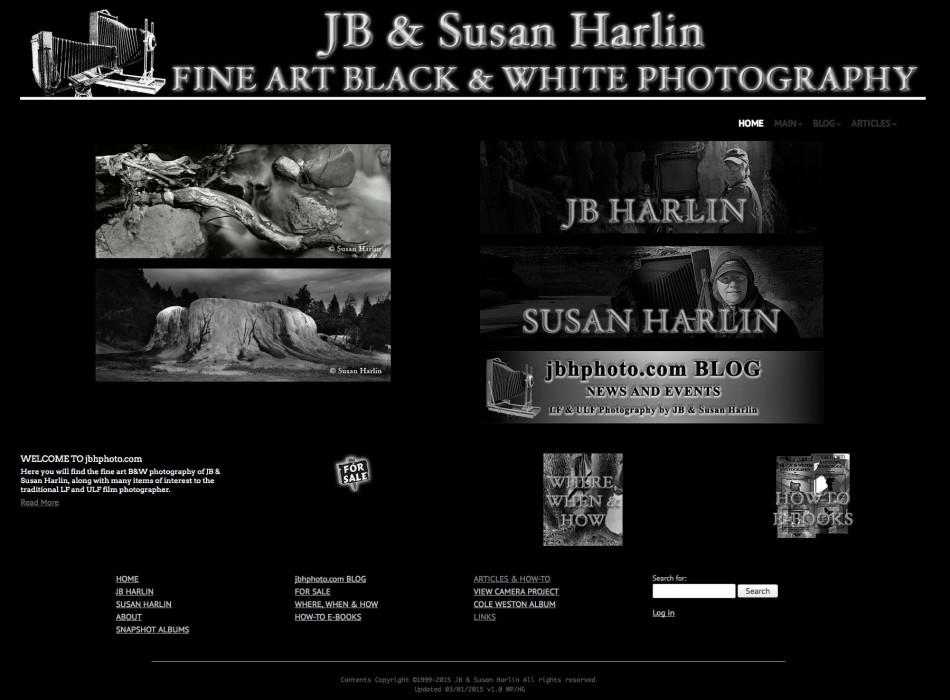 One project we have wanted to tackle for several years now has been an upgrade to a more user-friendly, modern-look for our web site. The site has been in continuous operation since 1999 and has gone through numerous upgrades over the years. We have continually added more and more content, so it is no small task to rebuild a site that has this much subject matter, but it needed to be done.
We really wanted to start on this last year, but there just wasn’t enough time. This year the web site project was moved to near the top of the list and it is finally a done deal! JB has been hacking on WordPress code, off and on, since early January and has finally finished the site with a completely new look. We have even moved to new web hosting for the delivery of the updated jbhphoto.com web site.
We have rebuilt all of the Snapshot Albums. The Cole Weston Workshop album was completely rebuilt and the original photographs have all been rescanned. The Articles and View Camera Project areas have been updated and revised. JB and Susan each have new areas with updated galleries of their work. We have updated the menu structure for easier navigation and access to content. The entire site has a new look using a customized theme that we feel is much more pleasing, up to date and much easier to navigate.
We would like to invite everyone to stop by and take a look at our new web site. . .www.jbhphoto.com
Always, thanks for your support!
JB & Susan
PS After the move to new web hosting and due to many instances of spammers registering, we have removed all registered users to this BLOG. If you were previously registered and receiving email notifications, we are truly sorry. . . don’t blame us, blame the spammers! You will need to subscribe to this BLOG to receive email notifications again when new posts are added. If you would like to Subscribe to the jbhphoto.com BLOG for email notifications, click on the SUBSCRIBE link in the top navigation menu under INFO, or in the bottom left menu. Follow the instructions on the Subscribe Page.
From The Road 01-08-2015 Back Home. . .
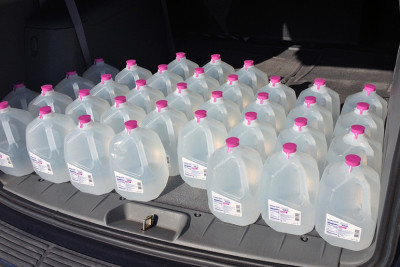
We did return home and this week has been little more than a blur. The gear is stacked in the living room awaiting a quick cleanup and being put away. Some of the clothes are put away. . . Susan did most of the laundry in Moab before we left, so there is little to do there. We will now begin to work on our film notes, which is the first step before film processing starts. JB is already hauling distilled water, and if things go as usual, film processing should start in 2-3 weeks. . . you never get in a rush to process film!
Here are a few stats from this year’s adventure;
DAYS ON THE ROAD TOTAL: 31
DAYS IN BRYCE CANYON NP: 4
DAYS IN SPRINGDALE, UT: 15
DAYS IN MOAB, UT: 7
NUMBER OF DAYS PHOTOGRAPHING: 20
SUSAN 4X10 FILM: 93
SUSAN 8X20 FILM: 18
JB 8X10 FILM: 103
JB 11X14 FILM: 21
TOTAL MILES DRIVEN: 3,641
There have been a few questions about when will finished photographs be seen. . . that is a good question for sure. It will take a month, at the least, to process, sort, file and proof the negatives. Then we will begin to sort through what we have and the process of printing will begin. This usually takes 2-3 additional months, since we never get in any rush. It takes time to think things through. . . it is a very intense process of creativity and may take some time for an image to mature. . . some photographs take years to ripen, mature and stabilize into the finished image. We invite everyone to follow us on our web site, our BLOG and FaceBook. We have also put the entire From the Road 2014 e-mail collection on our web site for those that were not on the mailing list. You can download the entire set in PDF format here;
We would like to thank everyone on our mailing list for sticking with us on this trip. It has been fun doing the ‘From the Road 2014’ updates and we hope everyone enjoyed riding along with us.
JB & Susan
OUR FOR SALE AREA IS OPEN
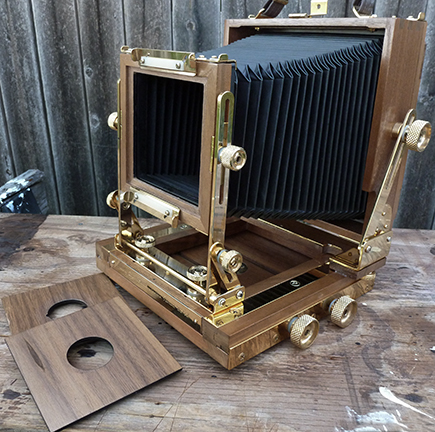
Hope everyone had a great Holiday, a Merry Christmas & Happy New Year! Our store is open again. . . looking for a nice 4×5 camera? Take a look HERE at this nice Zone VI Walnut camera. . .
Be sure to drop by our For Sale Area for more items.
JB & Susan
FOR EVERYONE!
NELFPC. . . 2014 EVENT VIDEO
We are so proud to have been invited to attend this really exciting and motivating NELFPC photography event. Tim did a great job shooting and editing this video. Watch and you will see only a snippet of what transpired during this long weekend saturated in fine art photography.
Thanks to the New England Large Format Photography Collective!
JB & Susan

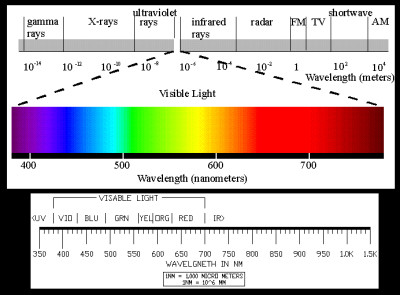
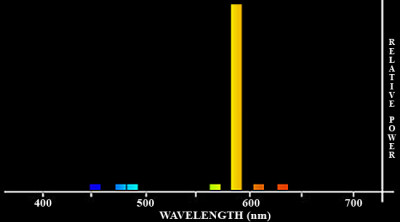
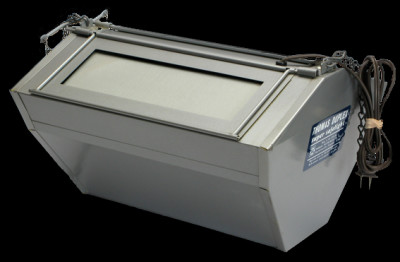 Had an interesting discussion the other day with a group of photographers about the Thomas Duplex Super-Safelight. This is one of the best safelights you can own. They are bright, powerful and will fog your paper before you can say Look Out! Honestly, these things are designed to light a very large darkroom, I would say, far beyond the size that most of us are accustomed to having the privilege of owning. They come with several glass-mounted filters that are designed for different darkroom uses, but there seems to be a lot of confusion as to what filters to use and how this all works.
