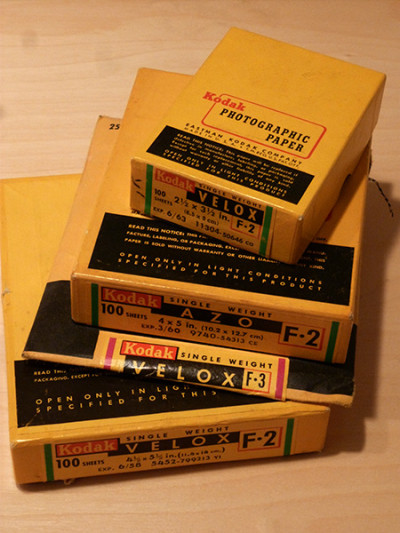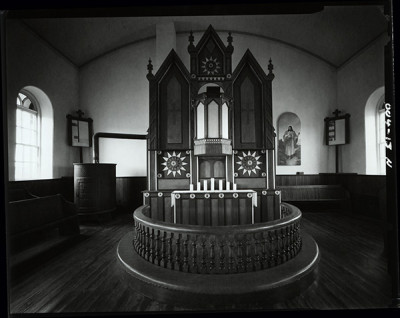
There seems to be a lot of people interested in the traditional wet darkroom these days. As many abandon their darkrooms, others are just getting started. I have seen numerous transfers of darkroom materials, chemicals and hardware to newcomers interested in the wet darkroom. . . a lot of times for FREE. There is a lot of old printing paper coming out of storage and being either tossed in the garbage or passed on (without any guarantee what so ever) to those that are just starting out. Certainly a lot of this old paper is fogged to some extent. . . but all may not be lost. If you find yourself in possession of several thousand sheets of a really great paper, depending on the amount of fog, you just may be able to make excellent prints, despite a little general degradation.
 Paper fog, as a rule shows up as a general darkening of the processed paper, thus making pure white in the print an impossibility. You can easily test for paper fog. . . see my previous article, “MEASURING PAPER FOG” for my method for testing paper.
Success is very dependent on the image you are printing, but in most cases, fog can be eliminated in the highlights and whites of the print by simply doing a little selective bleaching. Even deep shadows can be livened up with a little work with a bleaching mixture and a brush. Selective bleaching is not difficult and here is more info from a previous post titled, “A LITTLE SELECTIVE BLEACHING.”
If the whole print requires overall livening up, you can bleach the entire print in a tray. Look up the formula for Farmer’s Reducer. You may find that you have to over-print the image (print a little too dark) and then bleach it back upward (lightening the image) to restore the image sparkle. You will just have to experiment and find what works best for each print.

