There are those times when you happen upon a situation that you know, without hesitation, will be something worthy of your attention. A photographer, especially a landscape photographer, is continually chasing the light. We spend a very disproportionate amount of time searching for something worthy of pointing a camera toward and exposing a sheet of film. A good day shooting LF or ULF may yield, on a good day, six exposures. A really good day might lead to clicking the shutter over ten times! Other days, the camera is never even mounted to the tripod.
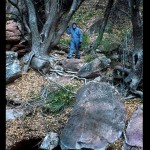
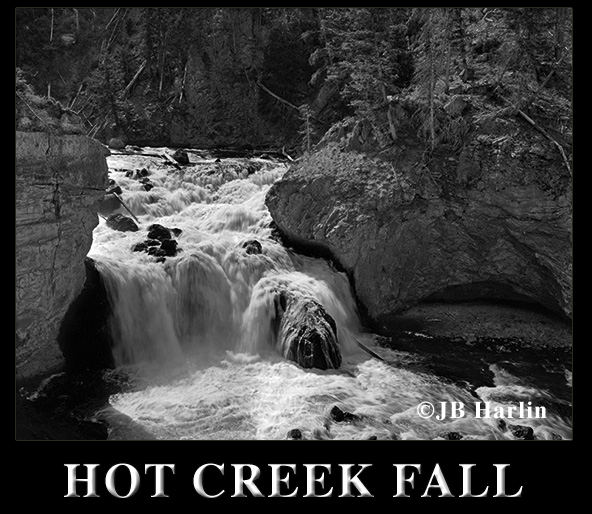
 This photograph was a surprise. We had been driving the park road just looking for something to stop and explore. This was one of our first trips to this area and we were still scouting the locale. It was about noon, the time of day that color photographers head to the gift shop or lunch. We shoot B&W and any light is good light, especially if it is an unusual light.
I have photographed in a strange lighting phenomenon several times before. At higher altitudes the air is thinner and sunlight seems to behave differently. Especially if you add a modifier, like thin layers of very high clouds. This day was partly cloudy with a lot of high, wispy clouds drifting to across the sky. A large area of very high cirrus clouds were drifting slowly over the sun. I recognized the light almost immediately, even before looking up to see what was causing this wonder.
Something happens when the sun is behind a thin cloud layer and the majority of the rest of the sky is clear. The light takes on a quality that is not easily describable. Objects take on a more rounded look and tend to glow. I knew this was something special.
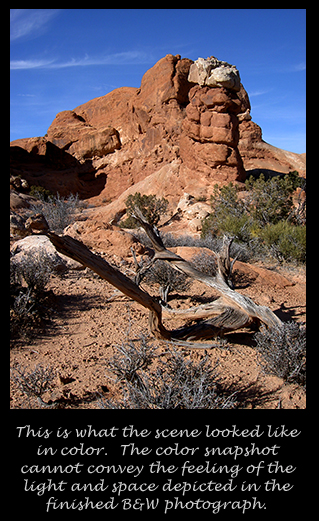
I immediately found a wide pullout, jumped out of the van and ran across the road. I had a great view of these interestingly shaped rock towers in the distance with a nice blue sky with a few high clouds since I was looking upward on the gentle slope. A quick look through my viewing filter/framing device which showed me that the light on the foreground was exceptional and the blue sky separated well from the red rock towers.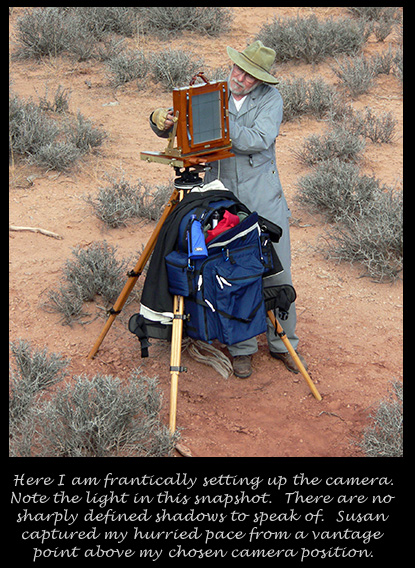
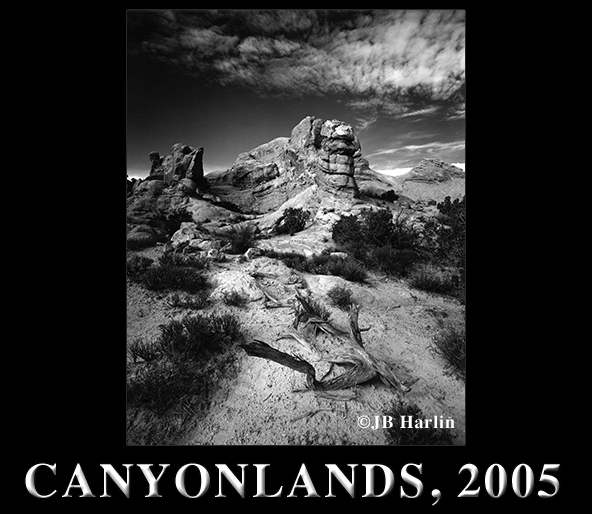
I remembered Ansel Adams talking about how once he found some grand view that was worthy of photographing, he would immediately start looking for something of interest to put in the foreground. This is the play on the near/far principle of making the illusion of depth in a two dimensional image. All I needed was something interesting in the foreground. Very quickly I found a nice weathered cedar which lined up just right. I quickly found a camera position using the filter/framing device, that I always carry, and quickly ascertained the focal length of the lens needed. All I needed now was the camera.
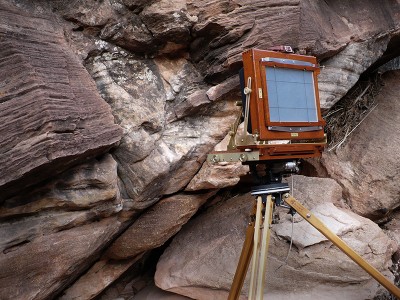
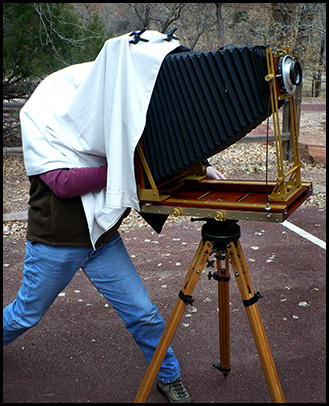
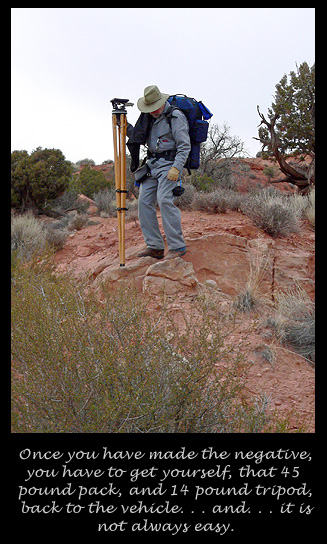
Fortunately we had already stopped to shoot earlier in the day and my 8×10 pack was loaded and ready to go. I ran back to the van, grabbed the pack, dark cloth and tripod then dashed back to my chosen spot. I made a mark in the sand with the heel of my boot I could find the spot again. I remember I kept looking at the cloud that was slowly drifting south east across the sun. I knew I had very little time to capture what was happening before me. Fortunately I have worked with my camera rig long enough that I can set it up without little thought. By using my framing device I already knew the position and lens I needed. I quickly set up the tripod, hung the pack on it, slipped the camera out and had it pre-focused and ready to go as quickly as possible. A quick look under the dark cloth and a quick tweak of the focus and a little back tilt and the camera was ready.
A view camera’s movement are used to manipulate the plane of focus in order to keep everything as sharp as possible. Using movement on the rear of a view camera will introduce distortion into your subject. If you are shooting something you do not want distorted, you should use the front movements only. But for this photo I wanted to use rear tilt to make the foreground loom upward and make it more prominent in the image. I use rear tilt a lot when making landscapes. It enhances the near far aspect of the image and allows you to sharply focus on object in the foreground without sacrificing focus in the distant objects.
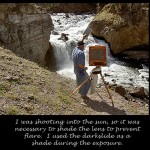
I also knew I wanted to use a filter to darken the sky and enhance the red rocks. A color filter when used with B&W film will lighten its own color and darken its complement. Hence, the sky would darken and the red to orange bands in the rock would be lightened. One pitfall of using a red filter is that it will not only darken blue skies, it will also darken green foliage. Fortunately there is very little green in the desert, especially in winter. Also the weathered cedar had some components of orange that were also lightened, giving the wood more depth and texture. The effect of the filter coupled with the unusual light make a powerful visual effect when using B&W film.
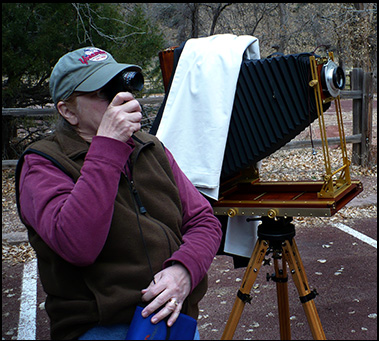
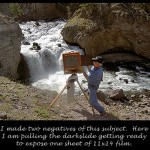
I quickly took a meter reading through the filter, dialed the exposure into the shutter and was ready to shoot. I swiftly made two exposures. The second negative was exposed just as the sun came out from behind the cloud. Only the fist exposure captured the light at its best, and is the one I printed.
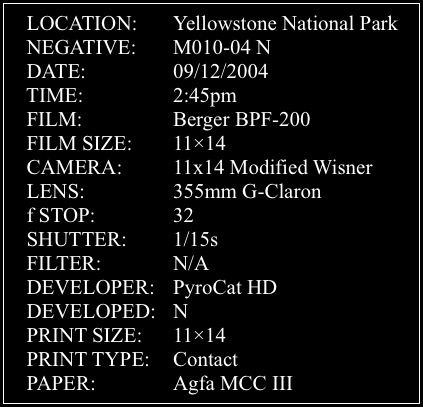
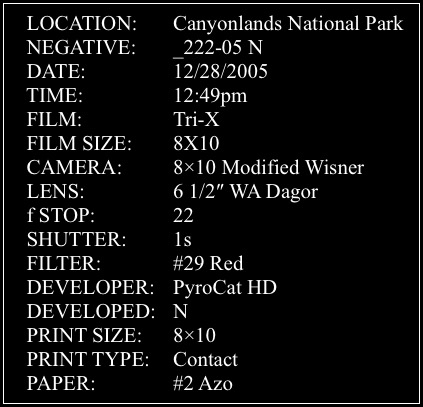
The negative was developed ‘Normal’ in PyroCat HD and prints well, with little manipulation, on grade #2 Azo. This is one of those photographs that conveys the feel and emotional content as originally envisioned in the field. The job of the photographer is to look for, and find, those situations where subject and light combine to make something unique. You sometimes have to be prepared to act on a moment’s notice. Add a little luck, and every now and then you find a gem. As someone once said, “Luck is when preparation meets opportunity.”
JB
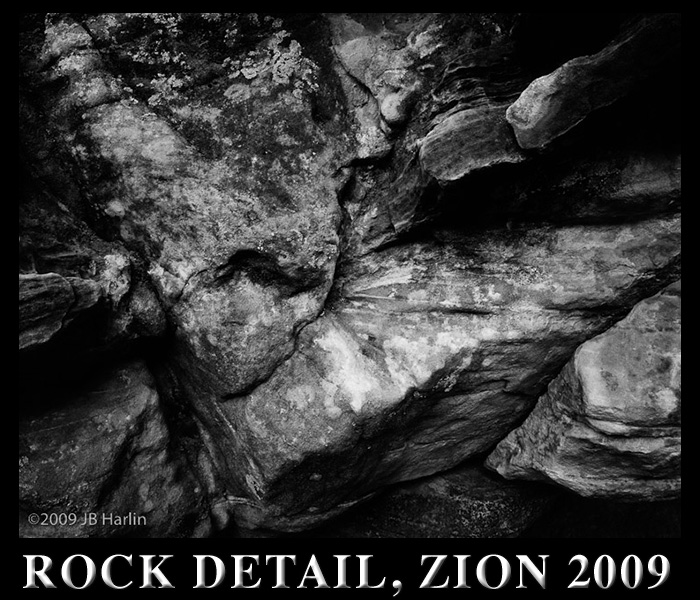
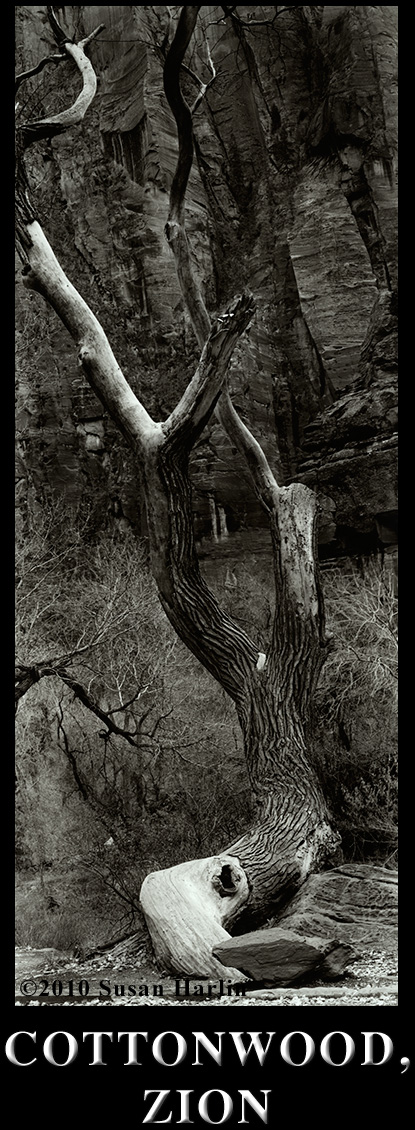
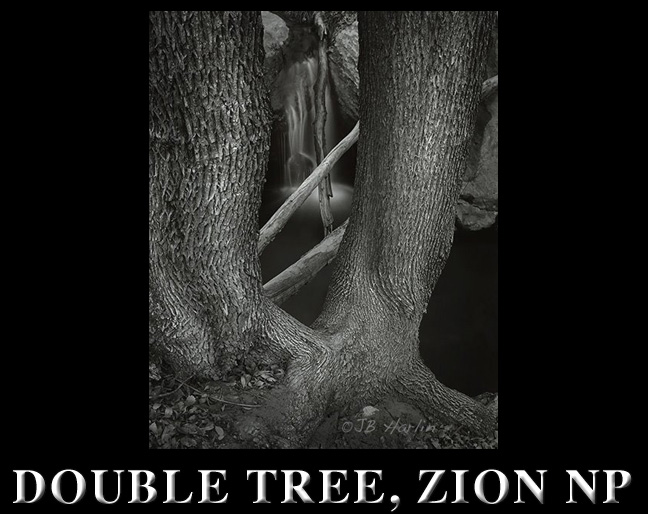
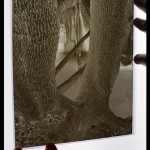
 abstract images of things that may or may not make any sense in the finished photograph. In an abstract photograph you either get it, like it, connect to it, or you don’t care for it. All of the above are valid and none are incorrect. There are things that are 100% visual. They cannot be analyzed and categorized with words. They are a mystery, and remain a visual only statement. Trying to explain any artistic statement is futile, since the feeling is lost in the translation. It is like having to explain a joke. I love making abstract images. I make quite a number of them, yet show very few. It is something that the viewer either gets or they don’t.
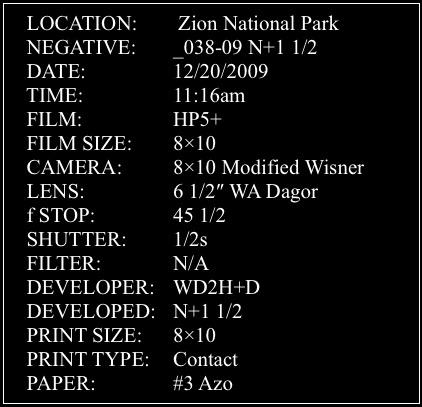
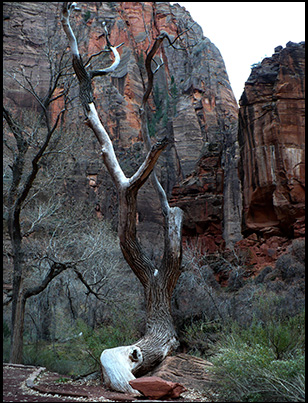
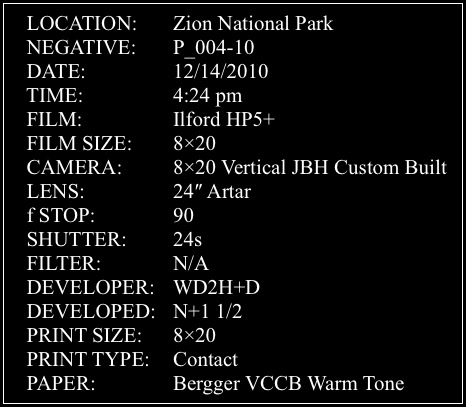
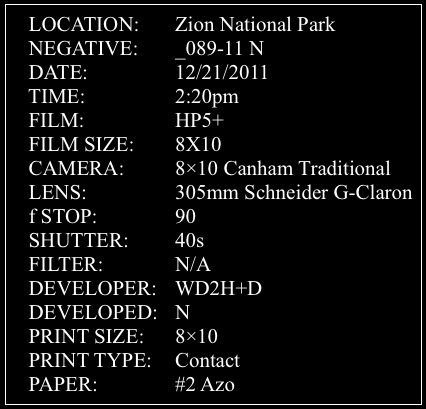
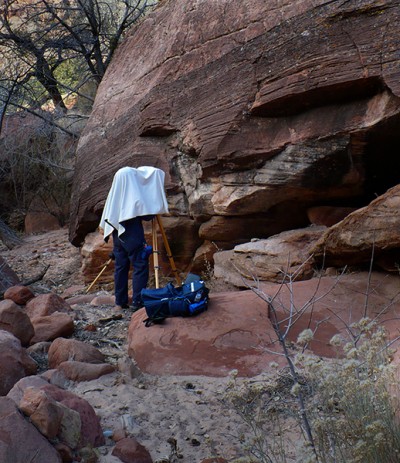
 Since there is no way to explain an abstract, other than the When, Where & How, here is what I can say. This was from a trip to Zion National Park in 2009. The image was made along the lower portion of Clear Creek. It was a sunny day, 28 degrees F. . . perfect working conditions. I know I had seen this formation before, probably from being in that same area the previous year. There are things that tend to only register in the subconscious. I find that it may take several trips to an area to fully explore its potential. That is why we keep going back over and over. There is little else I can explain other than the pertinent data below. Enjoy!