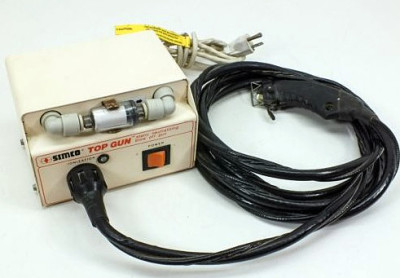
Simco F10 Top Gun
If you shoot film, you know that dust is one of your biggest enemies. It gets into everything and is nothing but a nuisance. I have written before about controlling dust around your camera and film holders, see these articles; “DUST. . . A Four Letter Word!” and “Wax on. . . Wax Off.”
There is another Dust battle you have to deal with when handling and printing the finished negatives that requires as much, if not more attention to the problem. Static attracts dust to the film like a magnet. You can eliminate or greatly reduce the dust on the negative using compressed air, but there is even more you can do. If you use an ionizing device you can greatly reduce the static charge, which helps in removing dust and helps keep it away.
Dust is not only a problem with film, it is also a big problem in manufacturing. Ever notice how clean your new phone or TV is when you take it out of the box the first time? There are numerous commercial devices used in the manufacturing process to help control the static charge that attracts dust. These devices are on the expensive side, since they are specialized tools designed for commercial use. The good news is, since they are used so much, they appear on the used market at much more tolerable prices.
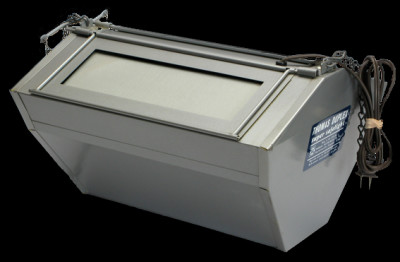
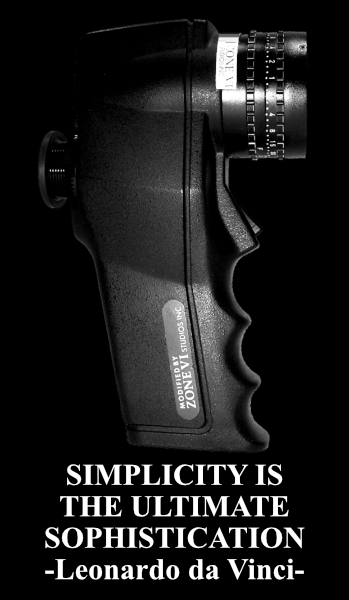
We have two Simco F10 Top Gun Static Neutralizing Blow Off Guns. (I know, get your mind out of the gutter, this is what the manufacture calls the device. . . see photos.) We installed one in the darkroom years ago. It worked so well, we added another in our work room where we mount, mat and frame. This model has been replaced, but you can find them on eBay. The unit is simple to use. All you need is a source of air (a compressor) and a standard grounded electrical outlet. They do work well.
One problem with the Simco unit is the hose and electrical umbilical. It is long, about 10 feet and difficult to handle. I solved that by building a spring-loaded retractor attached to the ceiling. This keeps the umbilical out of the way and the device easily accessible when needed.
As I said, you will need a compressor with a regulator to furnish air to the Simco unit. I keep the system pressure at about 40psi and you will need to add a filter to your air source. We have a compressor in the garage which has a filter on its outlet. Air is piped in via piping in the attic, then there is another filter at each Simco unit. You do not want water or oil in your air lines.
We use the Simco Top Gun units every time we print or mount and frame prints. They have become an integral part of the way we work. Anything you can do to eliminate dust will help you in keeping print spotting to a minimum. These units are also great for helping eliminate dust when mounting and framing.
Also worth mentioning is the Chapman ionizing antistatic brush. I am not sure if they are still made, but Zone VI, Kodak and others sold these at one time. We have a Chapman model and use it from time to time. The unit has a soft camel hair brush attached to a high voltage supply via a long cord. This is a good alternative if you do not want to have to use a compressor as with the Simco unit. We both used the Chapman brush until we found the Simco units. The ionizing brush works well, but nothing beats having compressed air combined with an ionizer.
Just remember; DUST IS A FOUR LETTER WORD!
JB
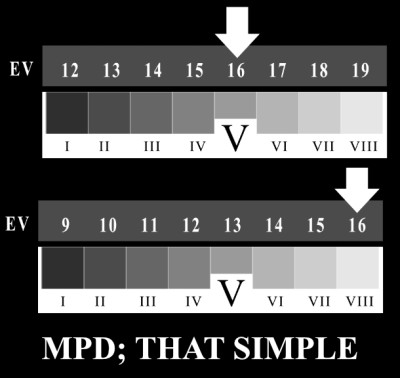
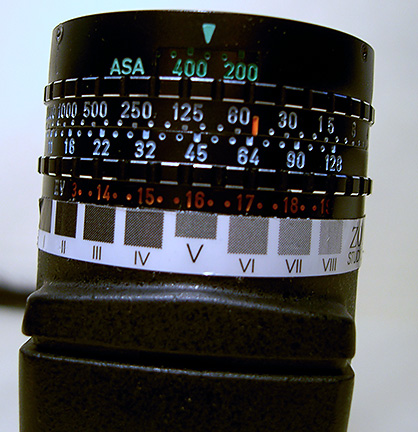 So, I know that I really should spend more time talking about photography, but it is so much easier to talk about equipment and modifications. . . so. . . here we go again. I know I have said several times before that little around here has not been modified in some way. I have to say that my Pentax Digital Spot Meter is about my number one tool when photographing. Maybe I should say it is my only tool that has a battery. No wonder Paul Horowitz chose it to modify for Zone VI. I like everything about it, except the Zone Dial. Now don’t get me wrong here, the old Zone VI Zone Dial was plenty useable. It was just that the label was not that durable and though we had purchased replacement Zone scales, I wanted something that was more rugged. So, this is how it all started. I just wanted to make a better label. And, another complaint I had was that part of the Zone Scale was covered by the meter barrel.

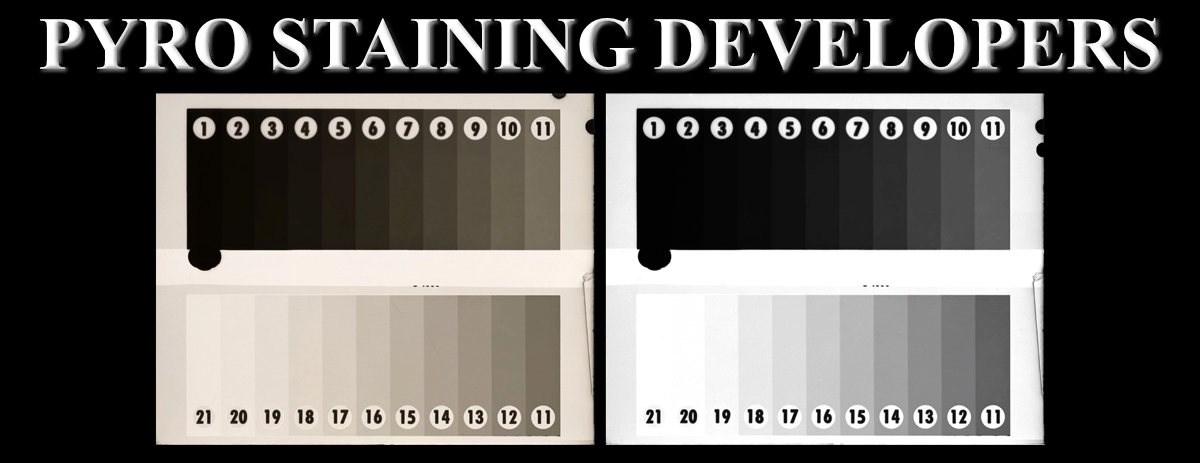
 Here is another one of those subjects that seem to come up and usually divides those that participate in the discussion into two distinct camps. Do you pre-soak your film, or not? For me, there is no other choice when processing sheet film. I process in trays, multiple sheets, using the shuffle method. I have done this for as long as I have been using sheet film. In fact, I have always pre-soaked film, even back in the days I processed 35mm and roll film in a tank.
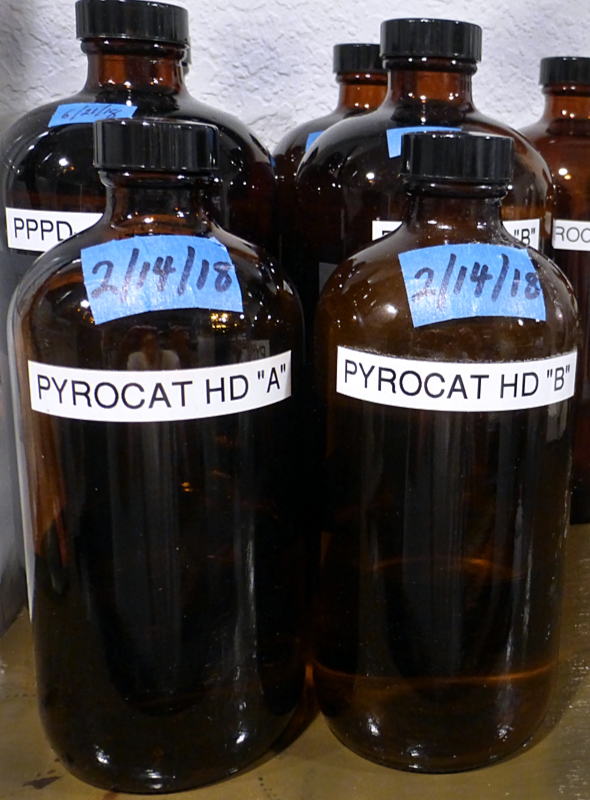
 We have just updated the FORMULAS area here on the jbhphoto.com BLOG (click the link at top of the page). What you will see is mostly cosmetic with a few corrections here and there. The formatting of the older area was made of screen grabs of notes and was not that well organized. Hopefully it is now a little more tidy.
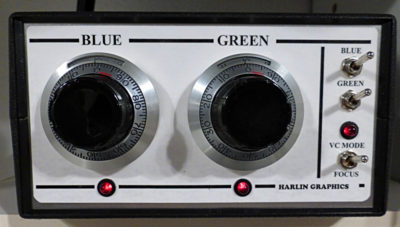
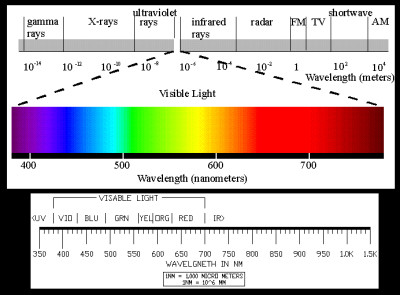
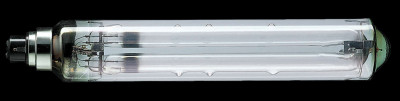
 Had an interesting discussion the other day with a group of photographers about the Thomas Duplex Super-Safelight. This is one of the best safelights you can own. They are bright, powerful and will fog your paper before you can say Look Out! Honestly, these things are designed to light a very large darkroom, I would say, far beyond the size that most of us are accustomed to having the privilege of owning. They come with several glass-mounted filters that are designed for different darkroom uses, but there seems to be a lot of confusion as to what filters to use and how this all works.
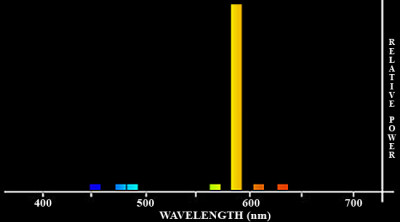

 Seems everyone has their favorite method for exposing and developing film. You do shoot film, don’t you? If not, you should! But I digress for sure. . . There are as many ways of working with film as there are opinions. . . maybe more. None are better or worse than any other, if they work; if they give you the results you insist on within your own vision, then you are already there. But, in this day and age there are a lot of people coming into photography and just now discovering film and the traditional darkroom. In the beginning film is a mystery and requires some time to begin to master. Of course, the most important thing is that you shoot film and make finished photographs. How you get there is a very personal thing and you need to choose what works best for you. But, you have to start somewhere.