I have been going through and updating this blog site and I have found several entries I have never posted. This is a project that was completed way back in 2007. Enjoy this blast from the past!
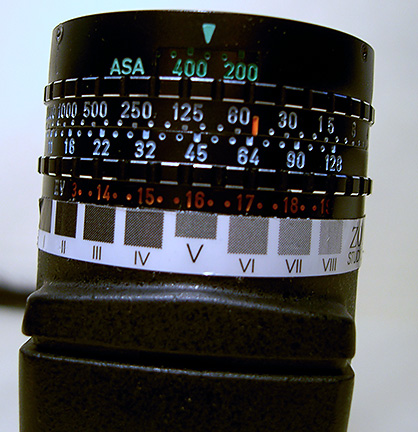 So, I know that I really should spend more time talking about photography, but it is so much easier to talk about equipment and modifications. . . so. . . here we go again. I know I have said several times before that little around here has not been modified in some way. I have to say that my Pentax Digital Spot Meter is about my number one tool when photographing. Maybe I should say it is my only tool that has a battery. No wonder Paul Horowitz chose it to modify for Zone VI. I like everything about it, except the Zone Dial. Now don’t get me wrong here, the old Zone VI Zone Dial was plenty useable. It was just that the label was not that durable and though we had purchased replacement Zone scales, I wanted something that was more rugged. So, this is how it all started. I just wanted to make a better label. And, another complaint I had was that part of the Zone Scale was covered by the meter barrel.
What I wanted was a more durable scale, and the ability to see the entire scale from Zone I to Zone X against the EV numbers on the dial. I had an idea about the scale and I thought I might open up the barrel of the meter a little. Turns out the scale was not that difficult, but in order to open up the barrel on the meter required I machine an entire new part.
First I needed to design a new meter scale and see how it would fit. The nice thing about doing your own modifications is you can design for the way you think. I set off first laying out a Zone Dial that I liked. I wanted a few symbols to jog my memory without clutter. I wanted to see ten full stops. It would include markers for N as well as N+1 ½ and N-1 ½, so I would not have to do any counting of Zones or EV numbers, just dial up whatever you want with little thought or counting. I also added a marker for Zone III to remind me of deep shadows and one at Zone IV for lighter shadows. Of course I added my name, website and copyright and there it was. I did the artwork in TurboCad and laid out the spacing to match the EV dial on the meter. I printed out a paper model and proceeded to check for fit and functionality.
Next I needed to rework the rear part of the meter barrel. I first thought I could modify the original, but it became obvious that if I were to cut away metal on the factory part, I would then have to strip the original anodize and re-plate. That usually does not work too well, so I opted to just make an entire new ring. This wasn’t that hard to do. The lens barrel is easily removed and the rear part that I needed to modify was simple machining. All I had to do was measure the original and make the replacement, adding my modification. I turned out the new part and made several test fits to make sure everything worked as planned. Once I was satisfied with the new ring, it was just a matter of some black anodize and assembly. I should note that we have four of these meters and I modified all of them at the same time.
I ordered some light sensitive, adhesive backed, aluminum that is mostly used for trophies and name plaques. I have used this material for panels on prototype devices before. This would serve as my new meter dial. I printed out a negative on clear film and this was used to expose the metal plate. After development, I had my dials ready to be cut to size. All that was left at this point was positioning the dials onto my new, opened up, meter barrel and one more project was done.

This was another one of those projects that was a little more involved than originally anticipated, but turned out to be well worth the effort. I did the modifications in 2007 and our meters have seen a lot of use since. My slightly encoded Zone Dial has worked very well, allowing me to work quickly and hopefully with fewer mistakes. Like I have said before, I like to keep things as simple as possible when working. Too much technical chatter gets in the way of creativity. I would rather do the technical work in the shop so I can get on with making my art without too much distraction.
JB


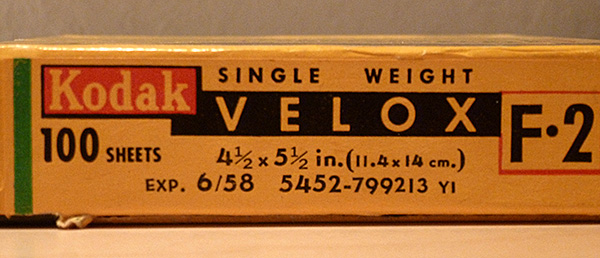
 Paper fog, as a rule shows up as a general darkening of the processed paper, thus making pure white in the print an impossibility. You can easily test for paper fog. . . see my previous article, “
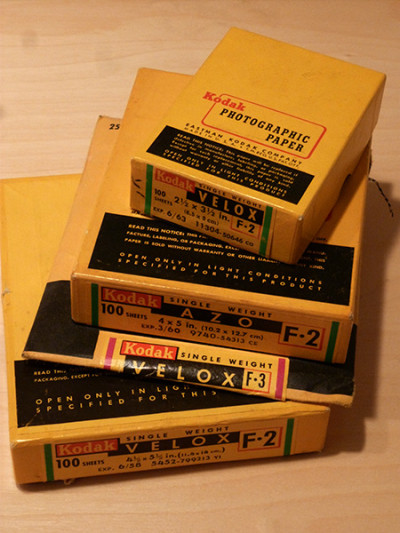