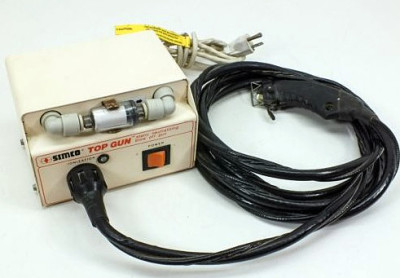
Simco F10 Top Gun
If you shoot film, you know that dust is one of your biggest enemies. It gets into everything and is nothing but a nuisance. I have written before about controlling dust around your camera and film holders, see these articles; “DUST. . . A Four Letter Word!” and “Wax on. . . Wax Off.”
There is another Dust battle you have to deal with when handling and printing the finished negatives that requires as much, if not more attention to the problem. Static attracts dust to the film like a magnet. You can eliminate or greatly reduce the dust on the negative using compressed air, but there is even more you can do. If you use an ionizing device you can greatly reduce the static charge, which helps in removing dust and helps keep it away.
Dust is not only a problem with film, it is also a big problem in manufacturing. Ever notice how clean your new phone or TV is when you take it out of the box the first time? There are numerous commercial devices used in the manufacturing process to help control the static charge that attracts dust. These devices are on the expensive side, since they are specialized tools designed for commercial use. The good news is, since they are used so much, they appear on the used market at much more tolerable prices.
We have two Simco F10 Top Gun Static Neutralizing Blow Off Guns. (I know, get your mind out of the gutter, this is what the manufacture calls the device. . . see photos.) We installed one in the darkroom years ago. It worked so well, we added another in our work room where we mount, mat and frame. This model has been replaced, but you can find them on eBay. The unit is simple to use. All you need is a source of air (a compressor) and a standard grounded electrical outlet. They do work well.
One problem with the Simco unit is the hose and electrical umbilical. It is long, about 10 feet and difficult to handle. I solved that by building a spring-loaded retractor attached to the ceiling. This keeps the umbilical out of the way and the device easily accessible when needed.
As I said, you will need a compressor with a regulator to furnish air to the Simco unit. I keep the system pressure at about 40psi and you will need to add a filter to your air source. We have a compressor in the garage which has a filter on its outlet. Air is piped in via piping in the attic, then there is another filter at each Simco unit. You do not want water or oil in your air lines.
We use the Simco Top Gun units every time we print or mount and frame prints. They have become an integral part of the way we work. Anything you can do to eliminate dust will help you in keeping print spotting to a minimum. These units are also great for helping eliminate dust when mounting and framing.
Also worth mentioning is the Chapman ionizing antistatic brush. I am not sure if they are still made, but Zone VI, Kodak and others sold these at one time. We have a Chapman model and use it from time to time. The unit has a soft camel hair brush attached to a high voltage supply via a long cord. This is a good alternative if you do not want to have to use a compressor as with the Simco unit. We both used the Chapman brush until we found the Simco units. The ionizing brush works well, but nothing beats having compressed air combined with an ionizer.
Just remember; DUST IS A FOUR LETTER WORD!
JB
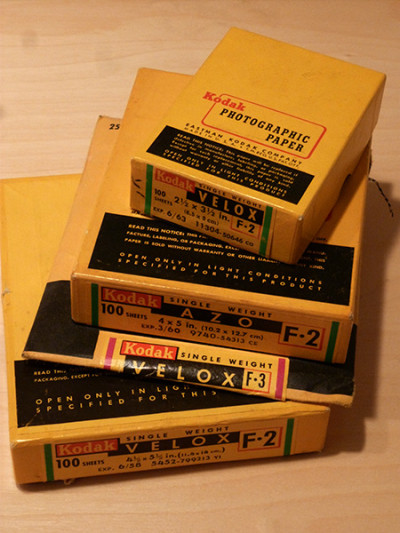 Paper fog, as a rule shows up as a general darkening of the processed paper, thus making pure white in the print an impossibility. You can easily test for paper fog. . . see my previous article, “


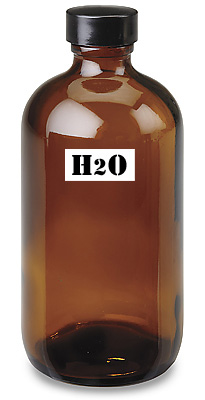 Here is another one of those subjects that seem to come up and usually divides those that participate in the discussion into two distinct camps. Do you pre-soak your film, or not? For me, there is no other choice when processing sheet film. I process in trays, multiple sheets, using the shuffle method. I have done this for as long as I have been using sheet film. In fact, I have always pre-soaked film, even back in the days I processed 35mm and roll film in a tank.
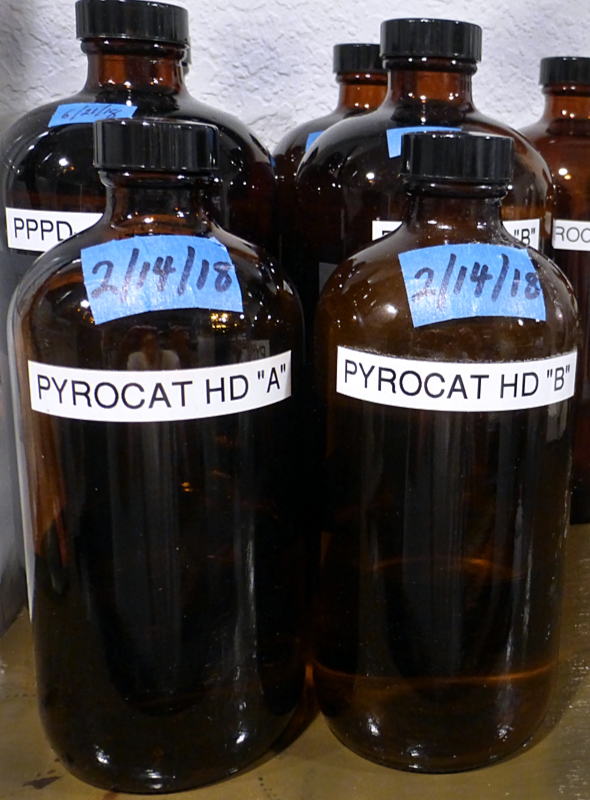
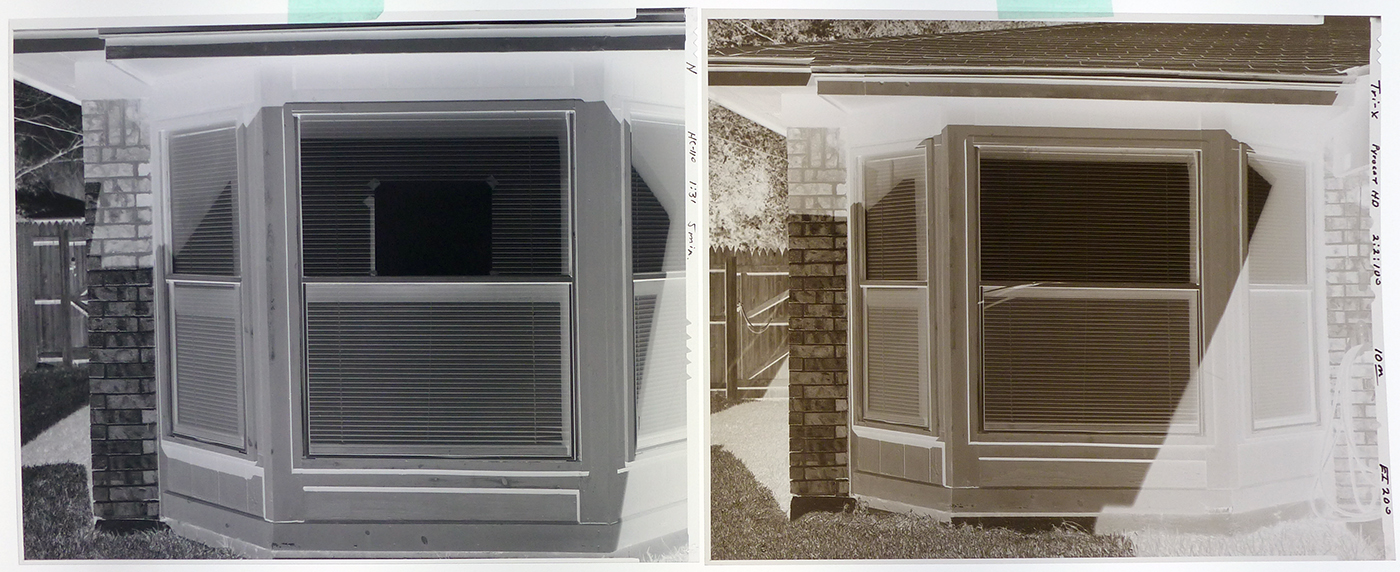 When we first started working with Pyro developers it took some time to realize exactly how the different look and feel of the film would translate into the finished print. There are those that say there is no difference between different film developers. They may also say there is no difference in the film you choose. That is like saying there is no difference between Ford and Chevy; no difference between red or white wine. Maybe for some this may be the case. But for those that take the time to really look and absorb the image, there is always a difference. Fred Picker said, “different is not the same!”
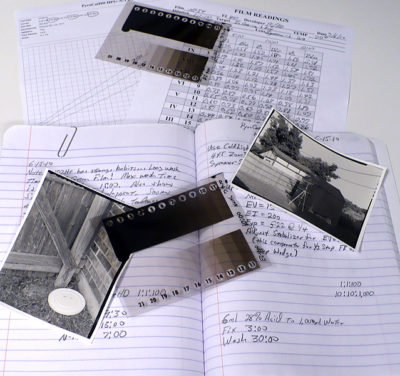 Over the past 20 or so years Pyro film developers have again become popular, with modern reformulations for modern film. John Wimberley, Gordon Hutchings, Sandy King, Jay DeFehr, among others, have done a lot of research and have formulated numerous reincarnations of Pyro film developers, specifically designed for use with modern film. Steve Sherman, Bob Herbst, Michael A. Smith and Steve Simmons have written extensively about Pyro developers and their unique qualities. Susan and I have made our choice based on our own real world experiences. We join with the many others that are also Pyro developer users.